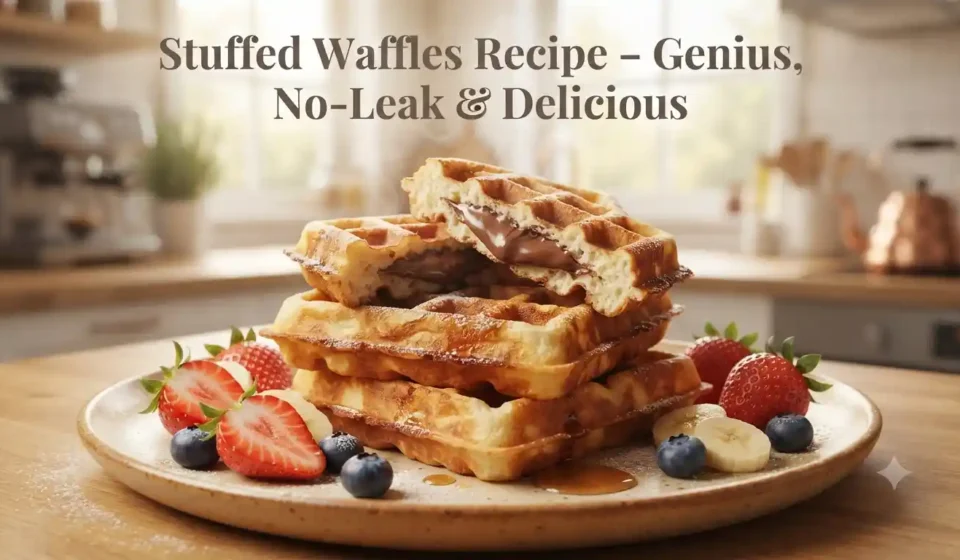

There’s something extra satisfying about making waffles at home. Maybe it’s the smell of butter hitting the hot waffle iron, or that first crisp bite before the coffee has even cooled. And when a craving calls for something more exciting than an ordinary waffle, stuffing it with a warm, gooey center turns breakfast into a proper treat.
The tricky part is keeping that delicious filling inside instead of watching it escape down the sides of the waffle maker. This stuffed waffles recipe uses a thick batter, controlled filling, and a simple sealing technique to give you crisp golden edges, fluffy centers, and a surprise filling without the sticky cleanup.
Stuffed Waffles Recipe – Genius, No-Leak & Delicious
These homemade stuffed waffles have a crisp exterior, tender middle, and warm chocolate-hazelnut center. The batter is intentionally thick enough to surround the filling rather than letting it sink or leak toward the edges.
You can serve them for breakfast, brunch, birthdays, holidays, or those weekends when plain waffles simply won’t do.
Prep & Cook Time
| Details | Time / Amount |
|---|---|
| Prep Time | 15 minutes |
| Cook Time | 15–20 minutes |
| Total Time | 30–35 minutes |
| Servings | 4 stuffed waffles |
| Difficulty | Easy |
Cooking time can vary depending on the size and heat setting of your waffle maker.
What Equipment Do You Need?
You don’t need special restaurant equipment. A standard home waffle maker works perfectly.
- Waffle maker
- 2 medium mixing bowls
- Whisk
- Silicone spatula or wooden spoon
- Measuring cups
- Measuring spoons
- Small spoon for adding filling
- Pastry brush or cooking spray
- Cooling rack or serving plate
Chef tip: A waffle maker with deeper pockets makes stuffing easier, but a standard Belgian-style waffle iron works beautifully too.
Ingredients
For the Waffle Batter
- 2 cups (250 g) all-purpose flour
- 2 tablespoons granulated sugar
- 2 teaspoons baking powder
- ½ teaspoon baking soda
- ½ teaspoon fine salt
- 2 large eggs
- 1¾ cups (415 ml) buttermilk
- ¼ cup (60 g) unsalted butter, melted and slightly cooled
- 1 teaspoon vanilla extract
For the Filling
- ½ cup (about 150 g) chocolate-hazelnut spread
For Cooking and Serving
- Cooking spray or a little melted butter for the waffle iron
- Fresh berries, optional
- Sliced banana, optional
- Maple syrup, optional
- Powdered sugar, optional
Important: Resist the temptation to overfill the waffles. About 1½–2 tablespoons of filling per waffle is plenty.
Why Each Ingredient Matters
A reliable stuffed waffle needs more than good flavor. The batter also has to be strong enough to hold the filling.
| Ingredient | Why It Matters |
|---|---|
| All-purpose flour | Creates enough structure to surround and contain the filling. |
| Sugar | Adds light sweetness and encourages golden-brown caramelization. |
| Baking powder | Produces lift so the waffles become fluffy rather than dense. |
| Baking soda | Reacts with acidic buttermilk and supports browning and tenderness. |
| Salt | Balances sweetness and makes vanilla and chocolate flavors more noticeable. |
| Eggs | Bind the batter while adding structure, richness, and moisture. |
| Buttermilk | Adds a subtle tang and helps create a soft, tender interior. |
| Butter | Adds richness while encouraging crisp, browned edges. |
| Vanilla | Gives the batter a warm bakery-style aroma. |
| Chocolate-hazelnut spread | Provides a thick filling that stays contained better than thin sauces or syrups. |
The biggest advantage here is viscosity. Thin fillings travel quickly when heated. A thick spread stays relatively stable, making it much easier to seal inside the batter.
Step-by-Step Instructions
Step 1: Preheat the Waffle Maker

Preheat your waffle maker according to the manufacturer’s directions. Medium to medium-high heat works well for most machines.
A properly preheated iron is important. If it isn’t hot enough, the batter sits against the plates instead of immediately beginning to set, which increases the chance of leaking.
Lightly grease the plates with cooking spray or brush them with a thin coating of melted butter.
Be careful around the hot waffle plates and escaping steam, especially when opening the machine.
Step 2: Mix the Dry Ingredients
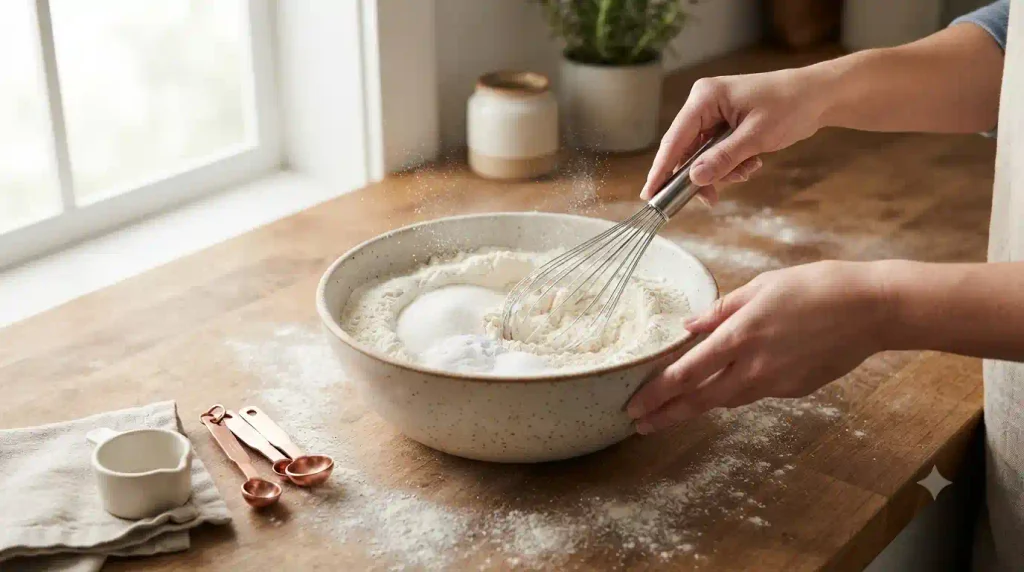
In a medium bowl, whisk together:
- 2 cups flour
- 2 tablespoons sugar
- 2 teaspoons baking powder
- ½ teaspoon baking soda
- ½ teaspoon salt
Whisk for about 20 seconds so the leavening agents are evenly distributed.
This small step prevents one waffle from becoming beautifully fluffy while another turns unexpectedly dense.
Step 3: Make the Waffle Batter
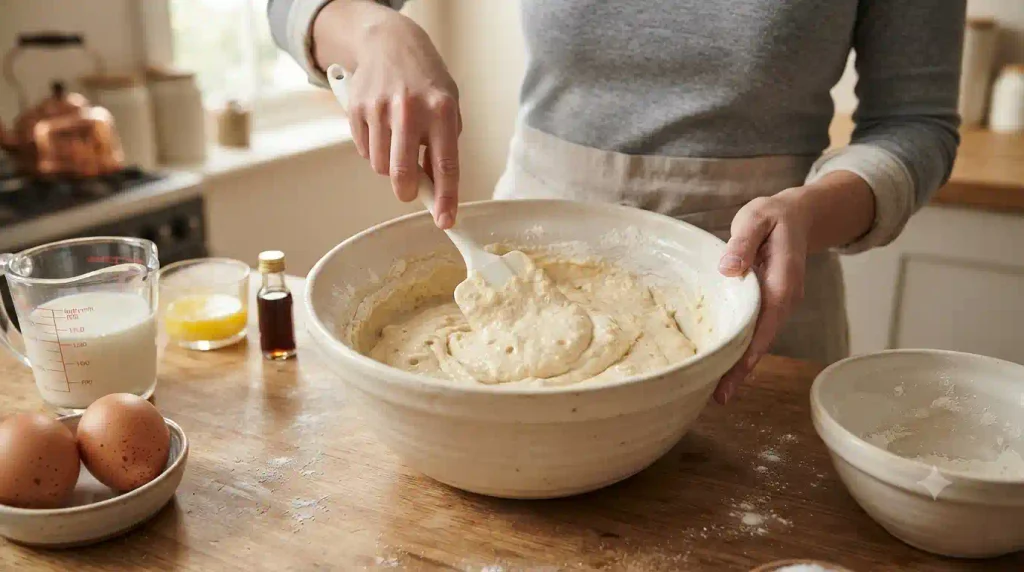
In a second bowl, whisk the eggs until combined.
Add the buttermilk, melted butter, and vanilla. Whisk until smooth.
Pour the wet ingredients into the dry ingredients. Fold gently with a spatula until the flour is just incorporated.
Don’t worry if the batter looks a little lumpy. That is exactly what you want. Overmixing develops too much gluten and can make waffles chewy instead of tender.
Let the batter rest for 5 minutes. It should be noticeably thicker than pancake batter.
Because the batter contains raw eggs, wash hands and utensils that come into contact with uncooked batter and avoid tasting it raw.
Step 4: Build the No-Leak Filling Layer
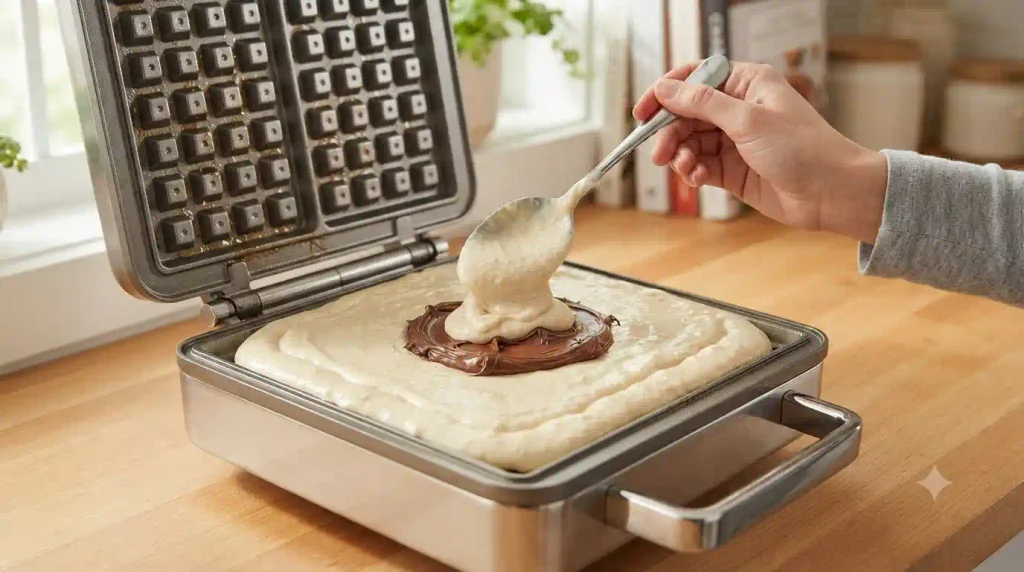
This is the step that makes the recipe work.
Spoon enough batter into the center of the hot waffle iron to create a base layer covering roughly two-thirds of the cooking surface.
Place 1½–2 tablespoons chocolate-hazelnut spread in the center.
Do not spread the filling toward the edge.
Leave at least a 1-inch border of plain batter around it.
Spoon another layer of waffle batter over the filling until it is completely covered.
Think of the batter as an edible envelope: the bottom layer supports the filling, while the top and surrounding batter create the seal.
Step 5: Cook Until Crisp and Golden
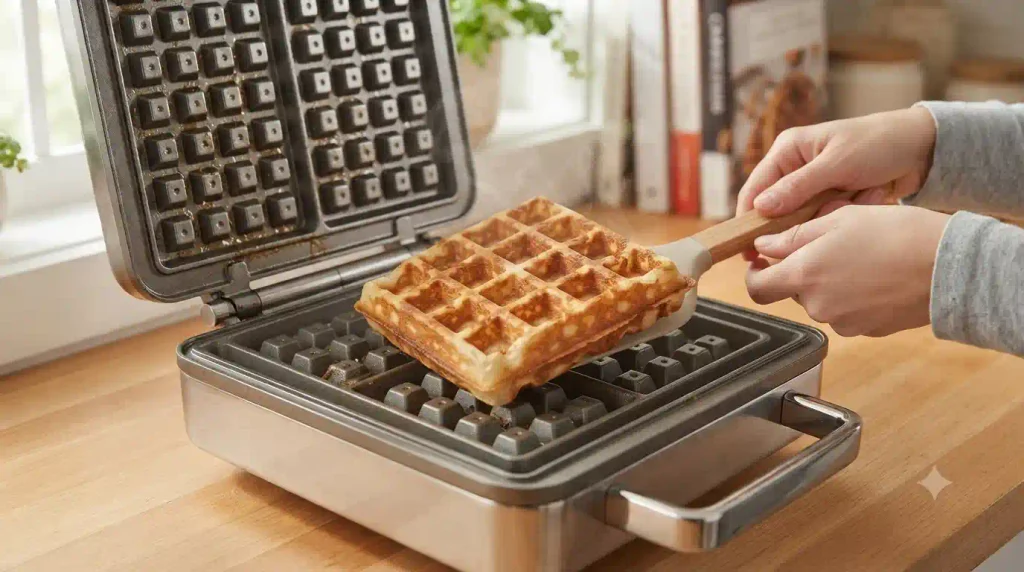
Close the waffle maker gently. Don’t press down aggressively because that can push the filling toward the edges.
Cook according to your waffle maker’s instructions, usually 4–5 minutes.
Try not to open the waffle maker too early. The initial burst of steam is normal. When the steam slows considerably, the waffle is usually close to finished.
Carefully open the iron and check the surface.
The waffle should be:
- Deep golden brown
- Crisp around the edges
- Firm enough to lift cleanly
- Fully cooked around the filling
Use a silicone or wooden utensil rather than metal, which may scratch nonstick plates.
Step 6: Rest and Serve
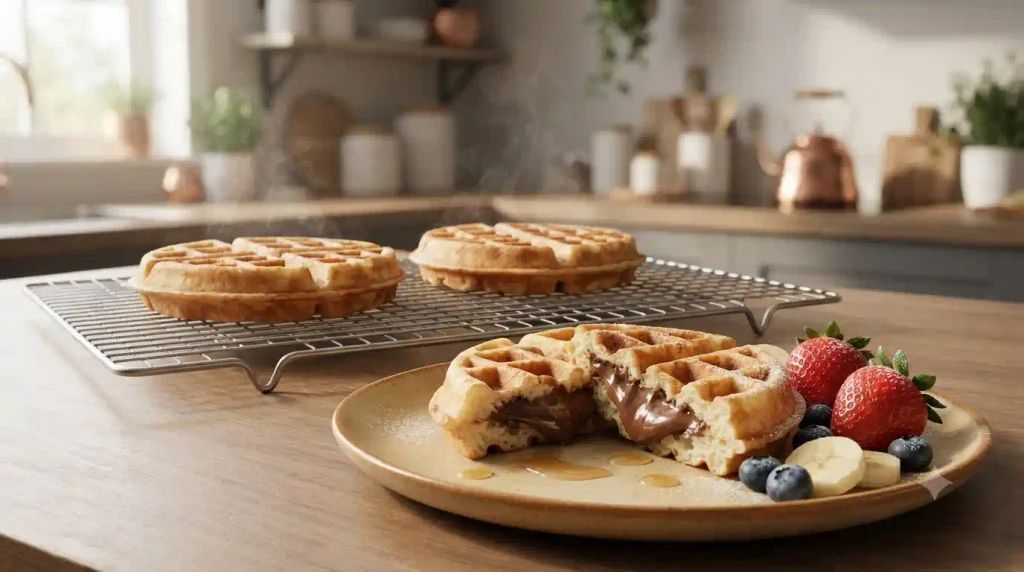
Carefully transfer the stuffed waffle to a cooling rack.
Let it rest for 1–2 minutes before cutting. The filling becomes extremely hot during cooking, so biting into it immediately can burn your mouth.
Serve warm with fresh berries, banana slices, a light drizzle of maple syrup, or a small dusting of powdered sugar.
For maximum crispness, place finished waffles on a wire rack rather than stacking them. Stacking traps steam and quickly softens those lovely crisp edges.
Health Benefits
Stuffed waffles are best thought of as a satisfying breakfast treat rather than a health food, but they still provide useful nutrients.
Eggs provide high-quality protein. They also supply nutrients including vitamin B12, selenium, and choline.
Buttermilk contributes protein and calcium, both of which support a balanced diet.
Adding fresh berries brings vitamin C, fiber, and naturally occurring plant compounds to the plate.
Using fruit rather than loading the waffles with extra syrup is an easy way to add flavor and sweetness without making breakfast excessively sugary.
For a more balanced meal, pair one waffle with fruit and a protein-rich side such as plain Greek yogurt.
Nutrition Information (Per Serving)
Approximate nutrition for 1 stuffed waffle, based on four servings and before optional toppings:
| Nutrient | Approximate Amount |
|---|---|
| Calories | 570 kcal |
| Protein | 12 g |
| Fat | 26 g |
| Carbohydrates | 73 g |
Nutrition note: These figures are estimates. Actual nutrition varies according to the brand of chocolate-hazelnut spread, butter, buttermilk, waffle size, and exact amount of batter used.
Pro Tips & Variations
Freeze the Filling for Extra Leak Protection
For an even easier filling process, spoon four portions of chocolate-hazelnut spread onto parchment paper and freeze them for 20–30 minutes.
The chilled portions remain firm during the first stage of cooking, giving the surrounding batter extra time to set before the filling becomes runny.
Keep the Filling in the Center
The most common stuffed-waffle mistake is trying to squeeze in too much filling.
More filling does not necessarily mean a better waffle.
Leave a generous batter border around the filling so the top and bottom layers can connect and form a proper seal.
Don’t Thin the Batter
If your batter looks thicker than ordinary pancake batter, that’s good.
A runny batter is more likely to spread quickly and expose the filling.
Make Them Crispier
Transfer cooked waffles to a wire rack and keep them in a 200°F (95°C) oven while you finish the remaining batch.
Avoid stacking them.
Strawberry Cheesecake Variation
Replace the chocolate-hazelnut spread with a thick mixture of:
- 4 tablespoons softened cream cheese
- 2 tablespoons strawberry preserves
Keep the filling centered because preserves become runny when heated.
Peanut Butter & Banana
Use 1 tablespoon creamy peanut butter with a few very thin banana slices.
Avoid large banana pieces because they can make the center overly wet.
Apple Cinnamon
Use 2 tablespoons finely diced cooked apples mixed with a pinch of cinnamon.
Cool the apple mixture completely before stuffing the waffles.
Savory Stuffed Waffles
Reduce the sugar to 1 teaspoon and omit the vanilla.
Try a small amount of:
- Shredded cheddar and cooked bacon
- Cooked spinach and cheese
- Ham and cheddar
Any meat used as a filling should already be fully cooked before going into the waffle.
Whole-Wheat Option
Replace up to 1 cup of the all-purpose flour with whole-wheat flour.
The waffles will have a slightly nuttier flavor and denser texture, with additional fiber.
Dairy-Free Option
Use an unsweetened dairy-free milk mixed with a little lemon juice in place of buttermilk and use melted dairy-free butter or neutral oil.
Check that your chosen filling is dairy-free as well.
How Much Does It Cost to Make?
Using typical US supermarket prices, a homemade batch is reasonably budget-friendly.
| Ingredient | Estimated Cost Used |
|---|---|
| Flour | $0.40 |
| Sugar & leavening | $0.20 |
| Eggs | $0.70 |
| Buttermilk | $0.90 |
| Butter | $0.60 |
| Vanilla | $0.30 |
| Chocolate-hazelnut spread | $2.00 |
| Estimated Total | $5.10 |
| Approximate Cost Per Waffle | $1.28 |
Expect roughly $5–$7 for four waffles, depending on your location, grocery store, ingredient brands, and filling.
Optional berries, bananas, maple syrup, and other toppings will increase the total.
Frequently Asked Questions
How do you keep stuffed waffles from leaking?
Use a thick batter and thick filling, keep the filling in the center, and leave at least a 1-inch border around it.
Most leaks happen because the waffle is overfilled or the filling reaches the outer edge before the batter has time to cook.
For particularly soft fillings, freezing individual portions for 20–30 minutes before cooking can make assembly easier.
Can I make stuffed waffles without a special stuffed waffle maker?
Yes.
A regular waffle maker works well as long as you use the batter-filling-batter method.
Add a base layer of batter, place a modest amount of filling in the center, then completely cover it with additional batter before closing the waffle maker.
A deeper Belgian waffle iron gives you a little more room, but it isn’t essential.
Can I make stuffed waffles ahead of time?
Yes. Allow cooked waffles to cool completely before storing them.
Refrigerate in an airtight container for up to 3 days.
For longer storage, freeze cooled waffles individually before transferring them to a freezer-safe container or bag.
Reheat them in a toaster, toaster oven, air fryer, or conventional oven rather than the microwave if you want to restore their crisp texture.
What fillings work best for stuffed waffles?
Thick, low-moisture fillings are the easiest to manage.
Good choices include:
- Chocolate-hazelnut spread
- Peanut butter
- Thick cream cheese mixtures
- Cookie butter
- Thick fruit preserves
- Finely chopped cooked apples
- Cheese with fully cooked savory ingredients
Avoid watery fruit mixtures, thin syrups, or runny sauces. As they heat, they can escape through the batter and create a sticky waffle-maker cleanup.
Final Thoughts
A great stuffed waffle should give you the best part of a classic waffle—crisp golden edges and a soft, fluffy middle—with an unexpected warm filling tucked safely inside.
The real secret isn’t fancy equipment. It’s restraint. Keep the batter thick, use a modest amount of filling, and leave that all-important border around the edges.
And if your first waffle looks slightly wonky? That’s normal in a real kitchen. Waffle number two nearly always looks better once you know exactly how much batter your machine likes.
Serve them warm, add your favorite fruit, and enjoy that first crispy bite before somebody asks whether there are any more.