

There’s something deeply satisfying about hearing pork rashers sizzle in a hot pan or oven, especially when you’re craving something salty, crisp, and comforting. The best rashers have those beautifully browned edges and a satisfying crunch without sitting in a puddle of grease. Thankfully, getting that texture at home is much easier than it sounds.
This crispy pork rashers recipe uses a simple elevated cooking method that allows excess rendered fat to drip away as the pork cooks. You get crispier rashers, less surface grease, and very little stovetop splatter. It’s an easy breakfast, brunch, sandwich, or weekend fry-up staple that works beautifully for everyday home cooks.
Prep & Cook Time
| Detail | Time / Amount |
|---|---|
| Prep Time | 5 minutes |
| Cook Time | 18–25 minutes |
| Total Time | 23–30 minutes |
| Servings | 4 |
| Serving Size | About 2 rashers |
Cooking time will vary depending on how thick your pork rashers are and how crisp you like them.
What Equipment Do You Need?
You don’t need specialist equipment for this recipe. A basic home kitchen setup works perfectly.
- Large rimmed baking sheet – catches the rendered pork fat safely.
- Oven-safe wire rack – lifts the rashers above the tray so excess fat can drip away.
- Aluminium foil or baking parchment – makes cleanup much easier.
- Kitchen tongs – useful for handling the hot rashers.
- Paper towels – for a quick final blot if needed.
- Small bowl – useful if you’re adding the optional seasoning mixture.
- Instant-read thermometer – optional, but helpful when checking thicker pork rashers.
Chef’s note: Make sure your wire rack is genuinely oven-safe. Some cooling racks have coatings that aren’t designed for high oven temperatures.
Ingredients
For approximately 4 servings, you’ll need:
- 8 pork rashers, about 12 oz (340 g) total
- 1/2 teaspoon freshly ground black pepper
- 1/2 teaspoon smoked paprika
- 1/4 teaspoon garlic powder
- 1 teaspoon maple syrup, optional
- 1 teaspoon Dijon mustard, optional
There’s no need to add cooking oil. Pork rashers naturally contain enough fat to brown and crisp during cooking.
If your rashers are already cured and salty, skip additional salt entirely.
Why Each Ingredient Matters
Pork Rashers
Pork rashers contain alternating layers of meat and fat. During cooking, some of that fat melts—or renders—out. Elevating the rashers on a wire rack allows rendered fat to drip onto the tray instead of surrounding the meat.
That helps create a drier, crisper exterior.
Black Pepper
Fresh black pepper cuts through the richness of pork and adds gentle heat without overpowering its savoury flavour.
Smoked Paprika
Smoked paprika adds colour, mild smokiness, and a little extra depth. It works especially well when you want an almost flame-grilled character without actually firing up the barbecue.
Garlic Powder
Garlic powder provides concentrated savoury flavour without introducing fresh garlic pieces that could burn during the relatively long cooking time.
Maple Syrup
This is completely optional. A tiny amount gives the rashers a sweet-and-salty finish and encourages caramelisation.
Don’t use too much. Excess sugar can burn before thick rashers become properly crisp.
Dijon Mustard
Dijon adds acidity and gentle sharpness, helping balance the richness of the pork. When combined with maple syrup, it makes a quick sweet-and-tangy glaze.
Step-by-Step Instructions
Step 1: Preheat the Oven
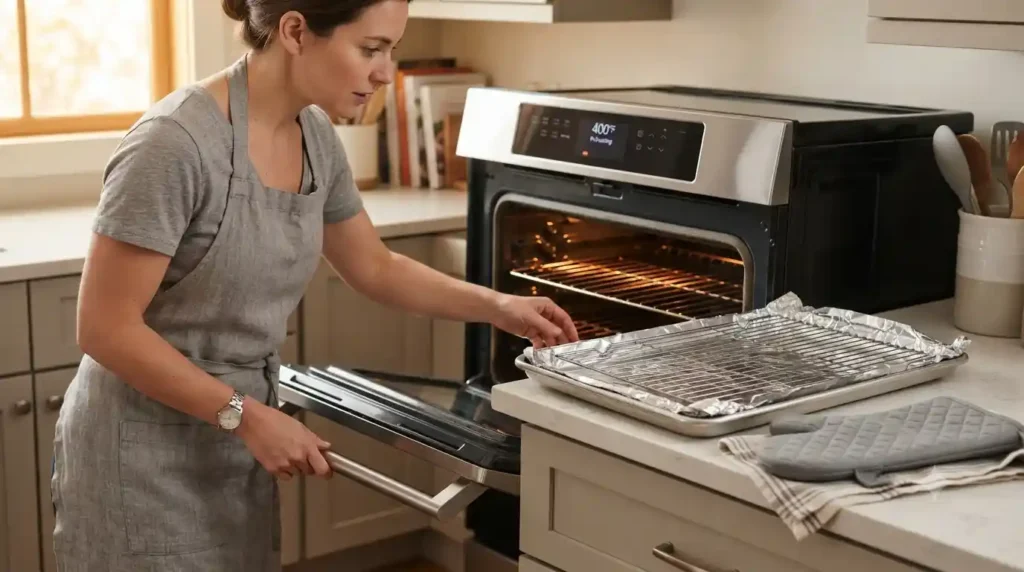
Preheat your oven to 400°F (200°C).
Line a large rimmed baking sheet with foil or baking parchment. Place an oven-safe wire rack over the baking sheet.
The rim is important because pork can release a surprising amount of hot fat. Never use a flat, rimless baking sheet for this method.
Give the oven enough time to preheat completely. Starting in a properly heated oven helps the rashers cook consistently.
Step 2: Arrange the Pork Rashers
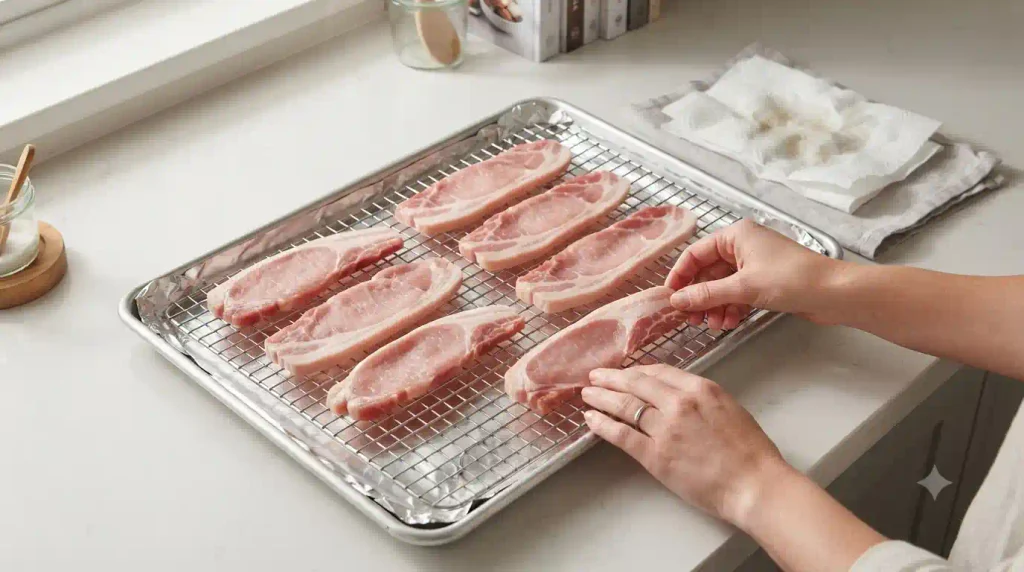
Remove the rashers from their packaging and separate them carefully.
Place them across the wire rack in one even layer.
Try not to overlap the pieces. Overlapping traps moisture and prevents some areas from becoming crisp.
If the rashers are particularly long, position them diagonally rather than folding them.
Pat very wet rashers lightly with paper towel before seasoning. Removing excess surface moisture encourages browning.
Wash your hands, utensils, and any surfaces that have contacted raw pork before handling other foods.
Step 3: Season Lightly
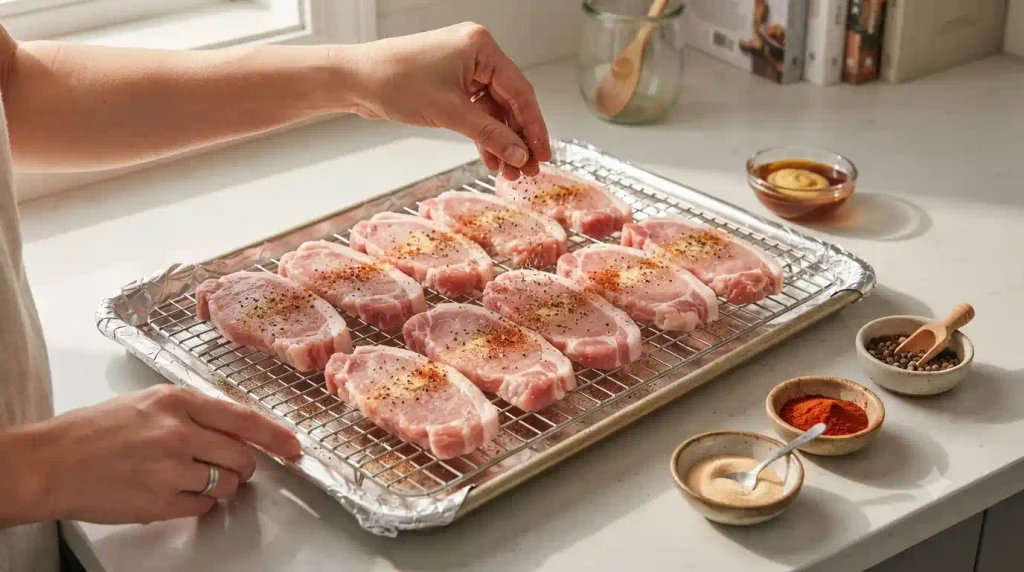
Mix the black pepper, smoked paprika, and garlic powder in a small bowl.
Sprinkle the seasoning lightly and evenly over the pork.
You generally don’t need extra salt because cured pork rashers can already contain plenty.
For the optional sweet-and-tangy version, combine:
- 1 teaspoon maple syrup
- 1 teaspoon Dijon mustard
Keep this mixture aside for later rather than applying it immediately. Adding sugary glaze too early can cause it to darken or burn.
Step 4: Bake and Render the Fat
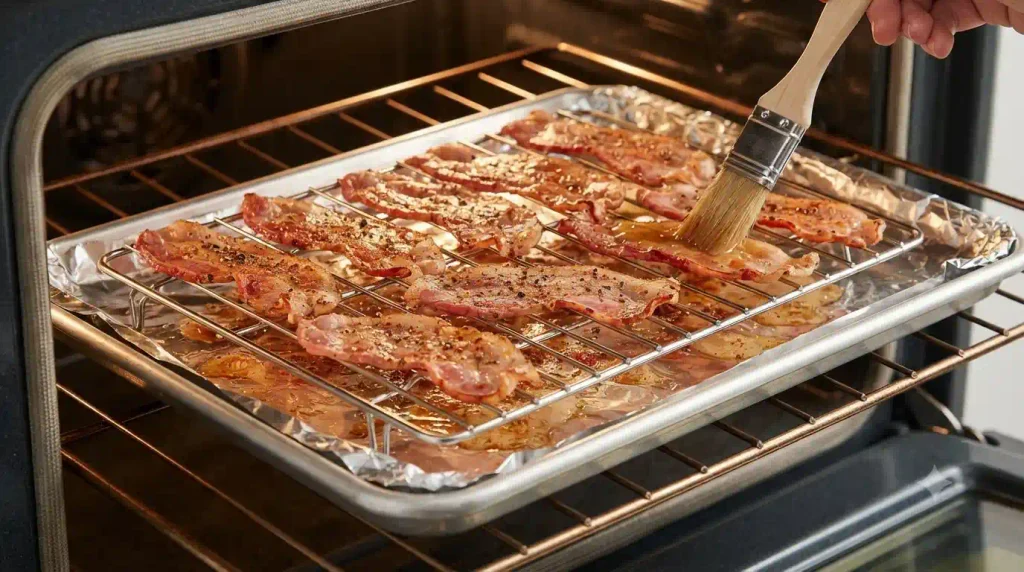
Place the tray carefully on the middle oven rack.
Bake for approximately 15 minutes without disturbing the rashers.
You’ll soon notice fat dripping through the wire rack onto the tray below. That’s exactly what you want.
After 15 minutes, check their progress.
Thinner rashers may already be close to crisp, while thicker rashers can need another 5–10 minutes.
If you’re using the maple-Dijon mixture, brush a very thin layer over the rashers during the final 3–5 minutes.
Keep an eye on them because the sugar can caramelise quickly.
Step 5: Finish Until Crisp

Continue baking until the rashers have browned edges and your preferred level of crispness.
Expect approximately:
| Rashers | Approximate Cooking Time |
|---|---|
| Thin | 15–18 minutes |
| Medium | 18–22 minutes |
| Thick | 22–25+ minutes |
These times are guides rather than strict rules. Pork thickness, oven calibration, curing method, and water content all affect cooking speed.
For food safety, whole cuts of pork should reach at least 145°F (63°C) internally followed by a 3-minute rest. Very thin rashers can be difficult to measure accurately with a thermometer, so cook them thoroughly according to the package directions where applicable.
Don’t walk away during the final few minutes. The difference between deeply crisp and burnt can happen surprisingly fast.
Step 6: Rest, Drain, and Serve
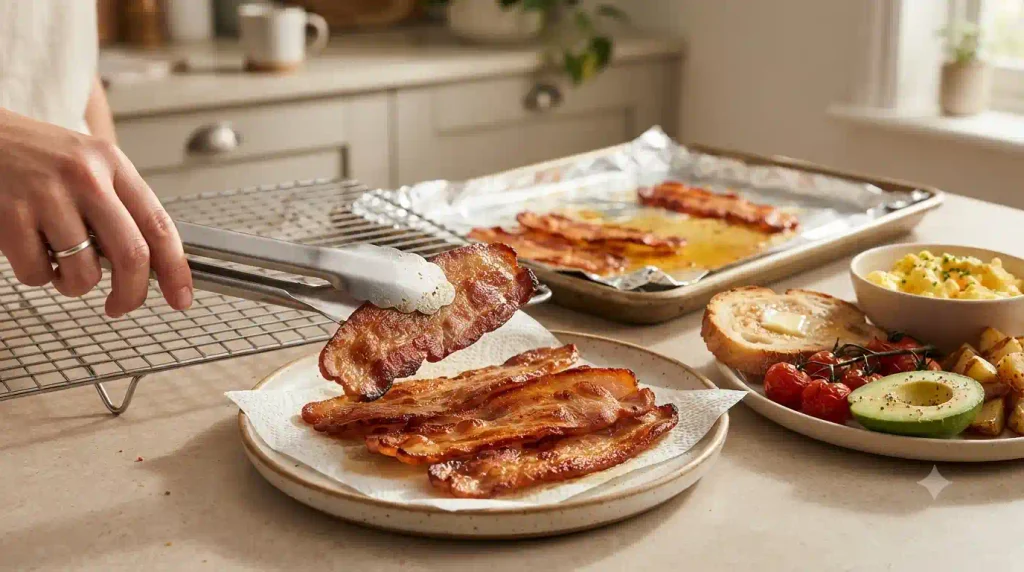
Carefully remove the baking sheet from the oven.
Remember that the tray underneath contains extremely hot rendered pork fat. Keep the tray level and don’t attempt to drain it while it’s still dangerously hot.
Transfer the rashers to a paper towel-lined plate using tongs.
Let them rest for approximately 3 minutes.
This short rest allows the exterior to firm up. Don’t worry if the rashers don’t seem maximally crisp the second they leave the oven—they often crisp slightly more as they cool.
Serve them warm with eggs, tomatoes, toast, avocado, breakfast potatoes, pancakes, or inside your favourite breakfast sandwich.
Health Benefits
Pork rashers are an indulgent food rather than something I’d describe as a nutritional powerhouse, but they can still contribute useful nutrients when eaten in sensible portions.
Protein: Pork provides complete protein containing the essential amino acids your body needs. Protein also helps make meals more satisfying.
B vitamins: Pork naturally provides several B vitamins, particularly thiamine (vitamin B1), which plays an important role in normal energy metabolism.
Minerals: Pork can provide minerals including selenium, zinc, and phosphorus.
Lower surface grease: Cooking the rashers on a raised rack lets some rendered fat physically drain away rather than remain around the meat. That doesn’t turn rashers into a low-fat food, but it can reduce the amount of rendered fat clinging to the finished pieces.
For a more balanced breakfast, serve a moderate portion alongside fibre-rich foods such as whole-grain toast, beans, vegetables, tomatoes, avocado, or fresh fruit.
Also remember that cured pork can be relatively high in sodium and saturated fat. Portion size matters.
Nutrition Information (Per Serving)
Approximate nutrition for 2 cooked rashers, without the optional maple-Dijon glaze:
| Nutrient | Approximate Amount |
|---|---|
| Calories | 160 kcal |
| Protein | 10 g |
| Fat | 13 g |
| Carbohydrates | 1 g |
Nutrition note: These values are estimates only. Pork rashers vary considerably in thickness, meat-to-fat ratio, curing method, brand, and how much fat renders during cooking. Check the packaging of your specific product if precise nutritional information is important.
Pro Tips & Variations
1. Give the Rashers Some Space
Crowding is one of the biggest enemies of crispness.
Leave a little room between each piece so hot air can circulate. If you’re doubling the recipe, use two trays rather than piling everything onto one.
2. Don’t Add Oil
There’s simply no need. The rashers release their own cooking fat.
Adding oil can make the finished result unnecessarily greasy.
3. Use a Wire Rack for Better Fat Drainage
You can bake rashers directly on a lined sheet pan, but they’ll spend more time sitting in rendered fat.
The rack method keeps them elevated while they cook.
4. Try a Peppery Version
Skip the maple syrup and use extra freshly cracked black pepper with a pinch of smoked paprika.
It’s simple and fantastic in breakfast sandwiches.
5. Make Maple-Mustard Rashers
Brush the pork lightly with the maple-Dijon mixture near the end of cooking.
The key word is lightly. You want caramelisation, not a thick sugary coating.
6. Add Gentle Heat
Add approximately 1/8 teaspoon cayenne pepper or chilli powder to your seasoning mixture.
It gives you a nice smoky kick without completely taking over.
7. Don’t Pour Hot Pork Fat Down the Sink
This one can save you a plumbing headache.
Allow the rendered fat to cool before disposing of it appropriately. Fat poured down a drain can solidify and contribute to clogged pipes.
8. Reheat in the Oven or Air Fryer
Microwaving works in a hurry, but it can soften crispy rashers.
For better texture, reheat cooked rashers at approximately 350°F (175°C) for a few minutes, watching closely so they don’t burn.
How Much Does It Cost to Make?
Prices vary significantly by country, store, pork quality, and brand, but this remains a relatively simple recipe with very few additional ingredients.
Here’s a rough US-style estimate:
| Ingredient | Estimated Cost Used |
|---|---|
| 12 oz pork rashers | $4.50–$6.50 |
| Black pepper | $0.05 |
| Smoked paprika | $0.08 |
| Garlic powder | $0.04 |
| Maple syrup, optional | $0.10 |
| Dijon mustard, optional | $0.05 |
| Estimated Total | $4.82–$6.82 |
| Approx. Cost Per Serving | $1.21–$1.71 |
Buying larger packs when they’re on offer can reduce the cost per serving considerably. You can freeze extra rashers in meal-sized portions for another breakfast.
Frequently Asked Questions
How Do You Make Pork Rashers Crispy Instead of Greasy?
The trick is to combine high, dry oven heat with elevation.
Place the rashers on an oven-safe wire rack positioned over a rimmed baking sheet. As the pork heats, some of its fat renders and drips below instead of surrounding the rashers.
Also avoid overcrowding. Trapped steam works against crispness.
Do You Need Oil to Cook Pork Rashers?
Usually, no.
Pork rashers contain enough natural fat to cook and brown without additional oil. As that fat renders, it helps the meat crisp.
Adding extra oil is unnecessary for this oven method.
What Temperature Is Best for Crispy Pork Rashers?
400°F (200°C) is a useful starting temperature.
It’s hot enough to encourage browning and crisping while still giving the pork fat time to render.
Very thin rashers can cook faster, so start checking them early.
Can I Make Crispy Pork Rashers Ahead of Time?
Yes.
Cook the rashers, allow them to cool, and refrigerate them promptly in an airtight container. For best quality, use them within 3–4 days.
Reheat them in a hot oven or air fryer until steaming hot and crisp again. Avoid leaving cooked pork at room temperature for more than 2 hours, or 1 hour in temperatures above 90°F (32°C).
Final Thoughts
Great crispy pork rashers don’t need a complicated technique or a pan full of extra oil. A hot oven, an elevated rack, and a little patience do most of the work for you.
The real advantage of this method is control. Rendered fat drips away, the rashers cook evenly, and you can watch the final few minutes until they’re exactly as crisp as you like them. Serve them with a full weekend breakfast or tuck a couple into a warm sandwich. Either way, make a little extra—crispy rashers have a habit of disappearing before the rest of breakfast reaches the table.