

There’s something especially comforting about hearing a waffle iron sizzle while the smell of butter and vanilla fills the kitchen. Whether you woke up craving a cozy breakfast or simply want something better than boxed mix, homemade waffles can turn an ordinary morning into one everyone actually comes to the table for.
This recipe is built for real weekday kitchens—quick mixing, basic pantry ingredients, and minimal cleanup. The waffles come out golden and crisp on the outside with a soft, fluffy center. And don’t worry if your batter has a few lumps. That’s exactly what you want because overmixing can leave homemade waffles chewy instead of tender.
Homemade Waffles Recipe – Crispy, Easy & Weekday-Friendly
These easy homemade waffles strike the sweet spot between crisp edges and a tender middle. The batter takes only minutes to prepare, making them practical enough for weekday breakfasts while still feeling special enough for a lazy Sunday brunch.
Prep & Cook Time
| Details | Time / Amount |
|---|---|
| Prep Time | 10 minutes |
| Cook Time | 15 minutes |
| Total Time | 25 minutes |
| Servings | 4 servings |
| Yield | About 6–8 waffles |
Cooking time can vary slightly depending on the size and heat level of your waffle maker.
What Equipment Do You Need?
You don’t need fancy baking equipment for great waffles. Grab these everyday kitchen tools:
- Waffle iron
- Large mixing bowl
- Medium mixing bowl
- Measuring cups
- Measuring spoons
- Whisk
- Rubber spatula or wooden spoon
- Small microwave-safe bowl or saucepan for melting butter
- Ladle or measuring cup for portioning batter
- Cooling rack
- Oven mitts or heat-resistant gloves
Kitchen tip: A cooling rack is surprisingly useful. Waffles left directly on a plate trap steam underneath, which can quickly soften those beautiful crispy edges.
Ingredients
For approximately 6–8 waffles, you’ll need:
- 2 cups (250 g) all-purpose flour
- 2 tablespoons granulated sugar
- 1 tablespoon baking powder
- ½ teaspoon fine salt
- 2 large eggs
- 1¾ cups (420 ml) whole milk
- ½ cup (113 g) unsalted butter, melted and slightly cooled
- 2 teaspoons pure vanilla extract
- Nonstick cooking spray or a little melted butter, as needed for the waffle iron
Optional Toppings
Serve your waffles with any combination of:
- Pure maple syrup
- Fresh strawberries, blueberries, raspberries, or sliced banana
- Greek yogurt
- Chopped pecans or walnuts
- Nut or seed butter
- A small dusting of powdered sugar
- Whipped cream for a weekend-style treat
Why Each Ingredient Matters
Knowing what each ingredient actually does makes it easier to troubleshoot waffles and confidently make substitutions.
| Ingredient | Why It’s Important |
|---|---|
| All-purpose flour | Provides the structure that keeps the waffles tender but sturdy enough to hold toppings. |
| Sugar | Adds mild sweetness and encourages caramelization, helping create golden, crisp edges. |
| Baking powder | Produces tiny air bubbles that help the waffles rise and become fluffy. |
| Salt | Balances the sweetness and makes the butter and vanilla flavors more noticeable. |
| Eggs | Provide structure, richness, moisture, and help bind the batter together. |
| Whole milk | Hydrates the flour and contributes protein, richness, and tenderness. |
| Butter | Adds rich flavor while fat helps create a tender interior and crisp exterior. |
| Vanilla | Gives the waffles their familiar warm, bakery-style aroma and flavor. |
The Secret Behind Crispy, Fluffy Waffles
Two things matter more than complicated techniques: a properly heated waffle iron and batter that hasn’t been overmixed.
Once flour gets wet, gluten begins developing. A little gluten gives waffles structure, but aggressive whisking encourages too much development and can make them tougher.
That’s why a slightly lumpy batter is perfectly fine.
The hot waffle iron then cooks both sides simultaneously. Moisture turns to steam inside while the exterior browns against the hot plates, creating that desirable contrast between crisp outside and fluffy inside.
Step-by-Step Instructions
Step 1: Preheat the Waffle Iron
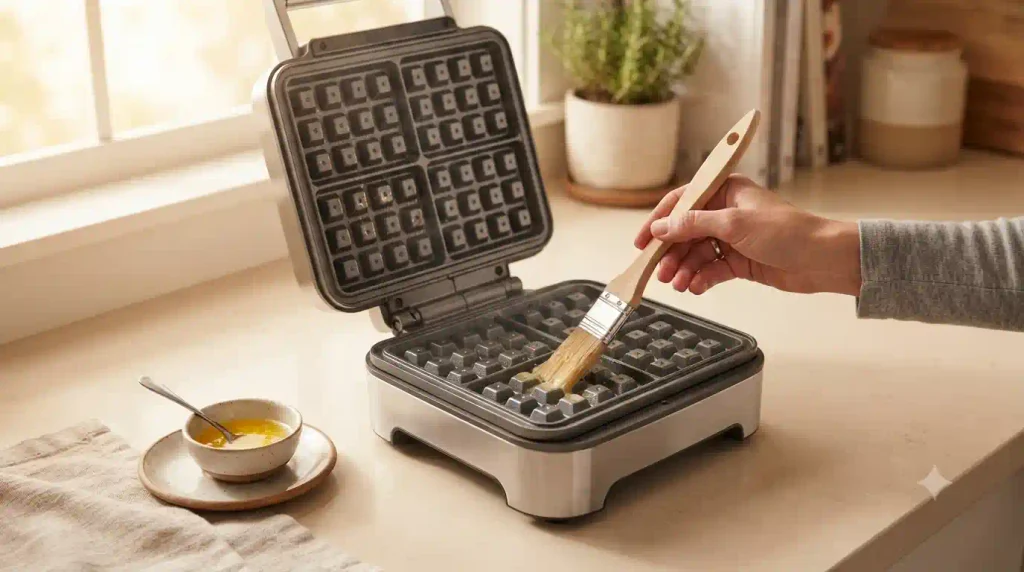
Preheat your waffle maker according to the manufacturer’s instructions before mixing the batter.
This step is easy to overlook when you’re hungry, but a properly heated iron is one of the keys to crisp waffles.
If you pour batter onto plates that aren’t hot enough, the waffles can cook slowly, absorb more moisture, and turn soft instead of crisp.
Lightly grease the plates with cooking spray or melted butter if recommended for your particular waffle maker.
Safety note: Waffle irons become extremely hot, including areas around the plates. Use the handle and keep your fingers away from hot metal surfaces.
Step 2: Combine the Dry Ingredients
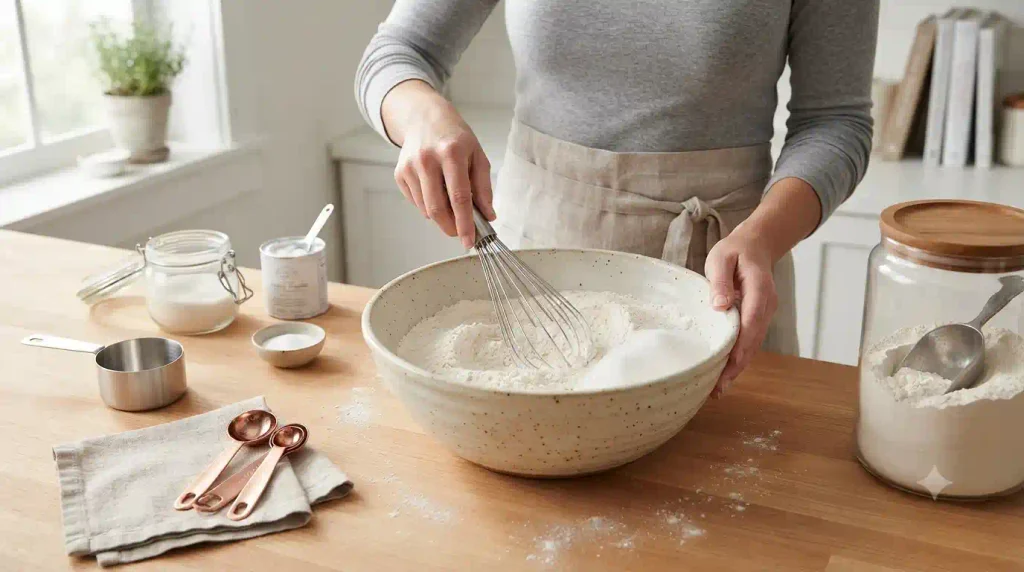
Add the following to a large mixing bowl:
- 2 cups all-purpose flour
- 2 tablespoons sugar
- 1 tablespoon baking powder
- ½ teaspoon salt
Whisk for about 20–30 seconds.
You aren’t trying to whip air into the mixture. You simply want the baking powder and salt distributed evenly so one waffle doesn’t rise beautifully while another stays flat.
Step 3: Mix the Wet Ingredients
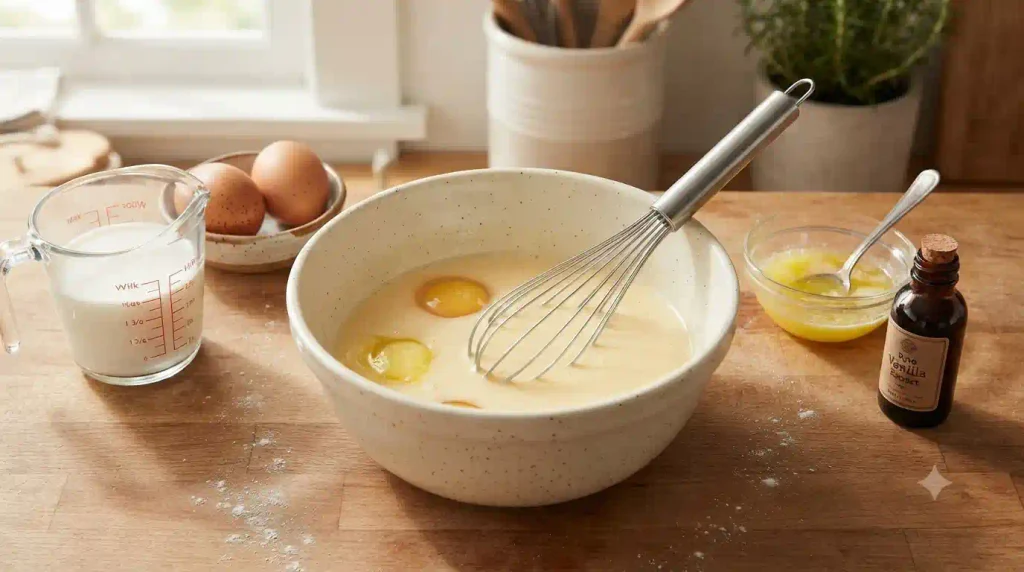
In a separate medium bowl, crack in 2 large eggs and whisk briefly.
Add:
- 1¾ cups whole milk
- ½ cup melted, slightly cooled butter
- 2 teaspoons vanilla extract
Whisk until evenly combined.
Let freshly melted butter cool for a few minutes before adding it. Extremely hot butter can partially cook the raw eggs.
As always, wash your hands and any surfaces or utensils that come into contact with raw egg.
Step 4: Make the Waffle Batter
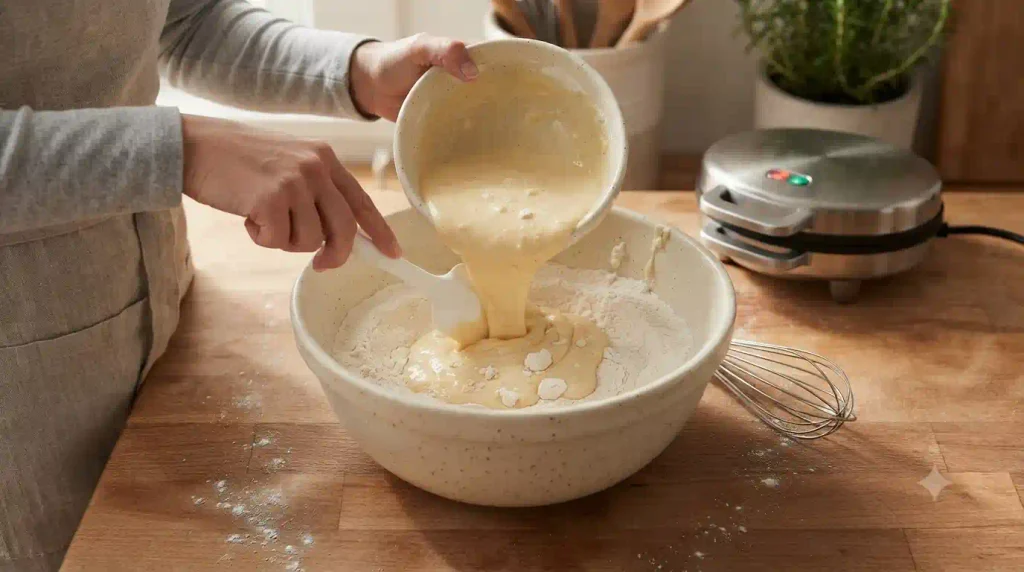
Pour the wet mixture into the bowl containing the dry ingredients.
Using a spatula or whisk, gently mix until you no longer see large pockets of dry flour.
Stop mixing at this point.
The batter may look slightly lumpy, and that’s completely normal. In my kitchen, this is usually the moment when it’s tempting to give the bowl another vigorous whisk—but resist it.
Overworking waffle batter can produce dense or chewy waffles.
Allow the batter to sit for about 3–5 minutes while your waffle iron finishes heating. This short rest allows the flour to hydrate.
Step 5: Cook Until Golden and Crisp

Pour the recommended amount of batter into the center of your preheated waffle iron. The exact quantity depends on the size of your machine; roughly ½–¾ cup works for many standard waffle makers.
Avoid filling every corner manually. Closing the lid naturally pushes the batter outward.
Close the waffle iron carefully and cook according to your manufacturer’s instructions, generally 3–5 minutes.
Try not to repeatedly lift the lid to check. Opening it too early releases steam and can interfere with browning.
Your waffle should be:
- Deep golden on the outside
- Crisp around the edges
- Cooked through in the center
- Easy to release from the plates
Transfer the finished waffle to a wire cooling rack.
Step 6: Keep Crisp and Serve
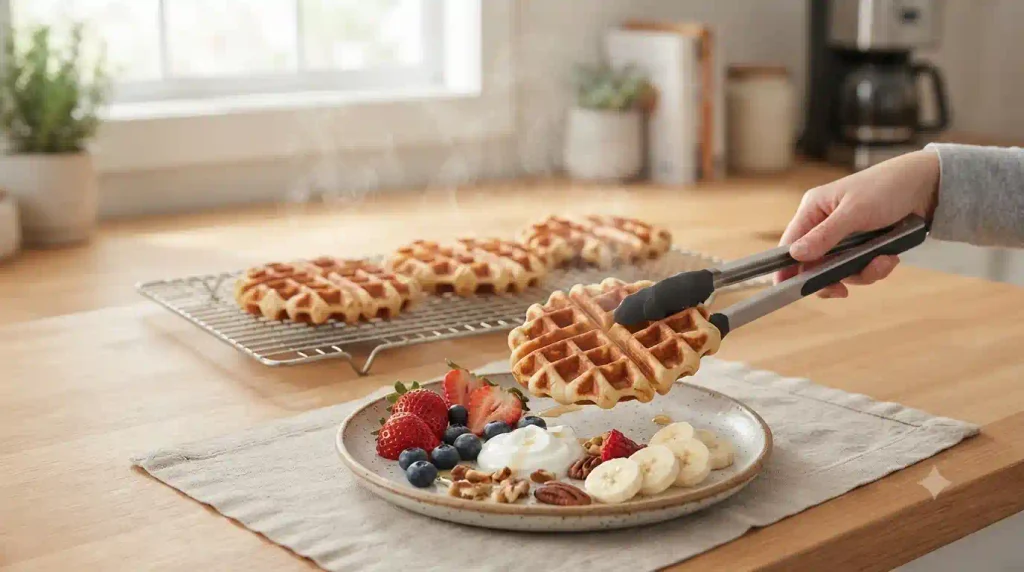
Continue cooking the remaining batter.
For the crispiest results, avoid stacking freshly cooked waffles. Stacking traps steam between them and softens the crust.
If you’re serving several people, place cooked waffles in a 200°F (95°C) oven directly on an oven-safe rack or baking sheet fitted with a wire rack while you finish the batch.
Once everything is ready, serve immediately with maple syrup, berries, yogurt, nuts, sliced fruit, or your favorite toppings.
Be careful when serving waffles straight from the iron or warm oven—they can be hotter inside than expected.
Health Benefits
Waffles are generally a carbohydrate-rich breakfast, but homemade versions give you much more control over ingredients, portions, and toppings.
Eggs Provide High-Quality Protein
Eggs contribute complete protein and supply nutrients including vitamin B12, selenium, and choline. Protein can also help make breakfast more satisfying.
Milk Adds Calcium and Protein
Whole milk provides calcium and protein along with several vitamins and minerals. Fortified milk may also provide vitamin D.
Homemade Means More Control
Making waffles yourself lets you control how much sugar and salt goes into the batter. You can also choose toppings based on your nutritional goals instead of relying on a heavily sweetened frozen or restaurant version.
Fruit Adds Nutritional Value
Fresh berries, bananas, peaches, or apples can add fiber, vitamins, minerals, and naturally sweet flavor.
Easy Ways to Build a More Balanced Breakfast
Try serving one or two waffles alongside:
- Fresh berries
- Plain Greek yogurt
- Eggs
- Nut or seed butter
- Chopped nuts
This adds protein, fiber, or healthy fats and makes the meal more satisfying.
Nutrition Information (Per Serving)
Approximate nutrition for ¼ of the recipe, before toppings:
| Nutrient | Approximate Amount |
|---|---|
| Calories | 520 kcal |
| Protein | 13 g |
| Fat | 28 g |
| Carbohydrates | 55 g |
Nutrition note: These figures are estimates. Actual nutrition will vary according to ingredient brands, waffle size, the amount of batter used per waffle, and toppings.
Pro Tips & Variations
1. Get the Waffle Iron Properly Hot
Don’t rush the preheating stage. A hot cooking surface encourages rapid browning and helps the exterior become crisp before the inside dries out.
2. Don’t Overmix
A few lumps are better than a perfectly smooth batter.
Mix only until the flour is incorporated. Excessive stirring develops additional gluten, potentially giving your waffles a tougher texture.
3. Don’t Stack Hot Waffles
This is one of the easiest mistakes to make.
A stack looks inviting, but freshly cooked waffles release steam. When trapped between waffles, that moisture softens their crisp surfaces.
Keep them in a single layer on a wire rack instead.
4. Keep a Batch Warm
Making breakfast for the whole family?
Keep finished waffles in a 200°F (95°C) oven while cooking the remaining batter. A wire rack allows hot air to circulate around them and helps preserve their texture.
5. Extra-Crispy Waffles
For an even crisper result, replace ¼ cup of the milk with sparkling water.
Add it near the end of mixing and stir gently.
6. Buttermilk Waffles
Replace the whole milk with an equal quantity of buttermilk for a richer, slightly tangy flavor.
Because acidity affects leavening, add ½ teaspoon baking soda alongside the baking powder when using cultured buttermilk.
7. Whole-Wheat Variation
Replace ½ cup of the all-purpose flour with whole-wheat flour.
This adds whole-grain flavor and additional fiber without making the waffles excessively dense.
Whole-wheat flour absorbs more liquid, so add an extra splash of milk if the batter becomes unusually thick.
8. Cinnamon Waffles
Whisk 1 teaspoon ground cinnamon into the dry ingredients.
This simple variation is particularly good with sliced apples, bananas, pecans, or maple syrup.
9. Blueberry Waffles
Sprinkle a small handful of blueberries over the batter after pouring it into the waffle iron instead of aggressively stirring berries into the bowl.
This helps keep the berries intact and distributes them more evenly.
10. Chocolate Chip Waffles
Add approximately ½ cup mini chocolate chips to the batter.
For better distribution, sprinkle some directly onto the batter after it enters the waffle maker.
11. Dairy-Free Option
Replace whole milk with an unsweetened plant-based milk and use melted dairy-free butter or a neutral cooking oil.
Oat milk tends to work particularly well because of its relatively creamy consistency.
12. Freezer-Friendly Waffles
These waffles freeze beautifully.
Allow them to cool completely on a wire rack first. Place parchment paper between waffles and transfer them to a freezer-safe container or bag.
Freeze for up to 2–3 months for best quality.
Reheat frozen waffles in a toaster or toaster oven until thoroughly hot and crisp. A microwave works in a hurry, but the waffles will be noticeably softer.
How Much Does It Cost to Make?
Homemade waffles are particularly budget-friendly because most ingredients are everyday pantry staples.
Here is a rough estimate based on typical U.S. supermarket prices:
| Ingredient | Estimated Recipe Cost |
|---|---|
| All-purpose flour | $0.50 |
| Sugar | $0.05 |
| Baking powder + salt | $0.15 |
| Eggs | $0.70 |
| Whole milk | $0.55 |
| Butter | $1.15 |
| Vanilla extract | $0.35 |
| Estimated Total | $3.45 |
That works out to approximately $0.86 per serving when the recipe serves four, before toppings.
Prices vary significantly by location, store, brand, and seasonal changes, so consider this a general budget estimate rather than a fixed cost.
Buying flour, sugar, butter, and other staples in larger packages usually lowers the cost per batch.
Frequently Asked Questions
Why aren’t my homemade waffles crispy?
The most common causes are an underheated waffle iron and trapped steam.
Give your waffle maker enough time to fully preheat before adding batter. Once cooked, transfer waffles to a wire rack rather than stacking them on a plate.
For a large batch, keep finished waffles warm in a low oven until serving.
Can I make waffle batter the night before?
It’s usually better to make this baking-powder-based batter shortly before cooking. Once the wet and dry ingredients are combined, the leavening process begins, and leaving the batter overnight can reduce its lifting power.
For faster mornings, mix the dry ingredients the night before. Cover them, then combine with freshly mixed wet ingredients in the morning.
Can you freeze homemade waffles?
Yes. Homemade waffles are excellent for meal prep.
Cool them completely before freezing so excess steam doesn’t turn into ice crystals. Separate the waffles with parchment paper and store them in an airtight freezer-safe container for up to 2–3 months for best quality.
You can reheat them directly from frozen in a toaster or toaster oven.
What’s the difference between pancake and waffle batter?
The recipes can look similar, but waffle batter commonly contains more fat and sometimes more sugar than pancake batter.
The additional fat contributes richness and helps waffles develop the crisp exterior that makes them different from soft, tender pancakes.
For the best results, use a batter specifically designed for waffles rather than assuming pancake batter will produce the same texture.
Final Thoughts
A good homemade waffle doesn’t require restaurant equipment or a complicated morning routine. With ordinary pantry ingredients, a properly heated waffle iron, and a little restraint when mixing the batter, you can get crisp golden edges and a tender, fluffy middle in about 25 minutes.
Keep the basic recipe for busy weekdays, then change the toppings or add-ins whenever you want something special. And if your first waffle comes out a little uneven? That’s normal in plenty of real kitchens—the first one often helps you learn exactly how much batter and cooking time your particular waffle iron prefers.
Once you’ve found that sweet spot, breakfast gets wonderfully easy.