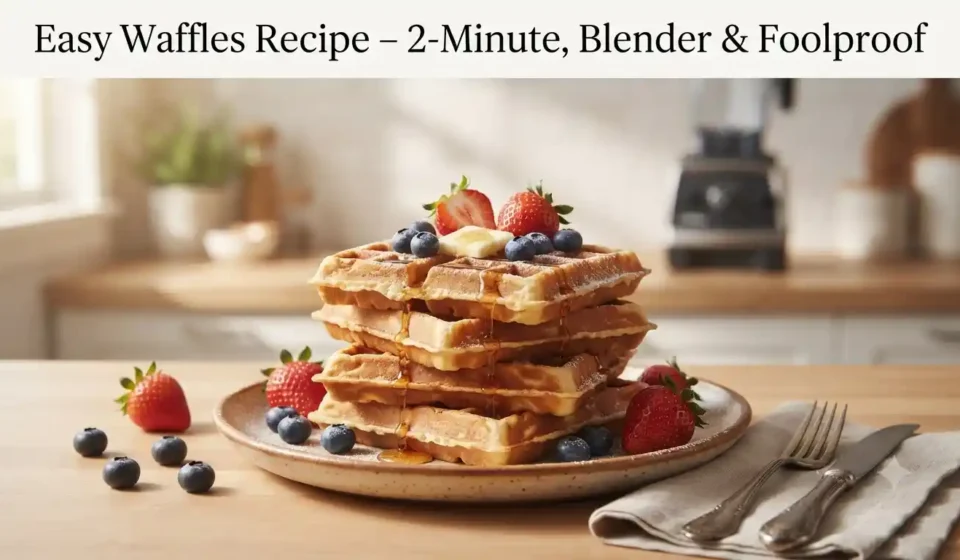

There’s something especially comforting about waking up to the smell of warm waffles. Maybe it’s a slow Sunday morning, or maybe a waffle craving hits on a busy weekday when you absolutely do not want to pull out three mixing bowls. Either way, homemade waffles should feel like a treat—not a kitchen project.
This easy blender method is the one I reach for when I want crisp golden edges and a soft, fluffy center without making a mess. The batter comes together in about 2 minutes, and the blender does nearly all the work. Pour, cook, and breakfast is ready. It’s simple enough for beginners but still delivers the classic homemade waffle texture everyone wants.
Easy Waffles Recipe – 2-Minute, Blender & Foolproof
These blender waffles are quick, dependable, and made with everyday pantry ingredients. The recipe makes about 6 standard waffles, depending on the size of your waffle iron.
Prep & Cook Time
| Detail | Time / Amount |
|---|---|
| Prep Time | 2 minutes |
| Cook Time | 12–15 minutes |
| Total Time | 14–17 minutes |
| Servings | 6 waffles |
| Difficulty | Easy |
The exact cooking time depends on your waffle maker. Belgian-style machines usually need a little longer than thinner, traditional waffle irons.
What Equipment Do You Need?
You don’t need any specialist equipment beyond a waffle maker.
- Blender – for making the batter in seconds
- Waffle maker – Belgian or standard style
- Measuring cups and spoons
- Silicone or rubber spatula
- Cooling rack – optional, but excellent for keeping waffles crisp
- Pastry brush or cooking spray – if your waffle iron requires greasing
- Tongs – helpful for safely removing hot waffles
Kitchen note: Waffle makers become extremely hot, including around the edges and steam vents. Open the lid by its handle and keep your fingers away from escaping steam.
Ingredients
For approximately 6 waffles, you’ll need:
- 2 cups (250 g) all-purpose flour
- 2 tablespoons granulated sugar
- 1 tablespoon baking powder
- ½ teaspoon fine salt
- 2 large eggs
- 1¾ cups (420 ml) whole milk
- ½ cup (113 g) unsalted butter, melted and slightly cooled
- 2 teaspoons pure vanilla extract
Optional for Serving
- Maple syrup
- Fresh strawberries, blueberries, or raspberries
- Sliced banana
- Greek yogurt
- Whipped cream
- Peanut or almond butter
- Powdered sugar
- Chopped toasted nuts
Why Each Ingredient Matters
A short ingredient list can still involve plenty of useful kitchen science. Each ingredient has a job.
| Ingredient | Why It Matters |
|---|---|
| All-purpose flour | Provides the structure that allows the waffle to hold its shape while keeping the interior tender. |
| Sugar | Adds mild sweetness and encourages attractive browning and caramelization. |
| Baking powder | Creates tiny air pockets as the waffles cook, helping them become lighter and fluffier. |
| Salt | Balances the sweetness and makes the vanilla and butter flavors more noticeable. |
| Eggs | Add structure, richness, moisture, and help bind the batter together. |
| Whole milk | Hydrates the flour and provides fat and milk proteins for flavor and browning. |
| Butter | Adds richness while helping create those deliciously crisp waffle edges. |
| Vanilla | Gives the batter a warm, classic breakfast flavor. |
One important detail with blender waffles is not blending for too long. Flour develops gluten when mixed with liquid. Too much mixing can turn a tender waffle into a tougher, chewier one.
A few tiny lumps are completely fine.
Step-by-Step Instructions
Step 1: Preheat the Waffle Maker
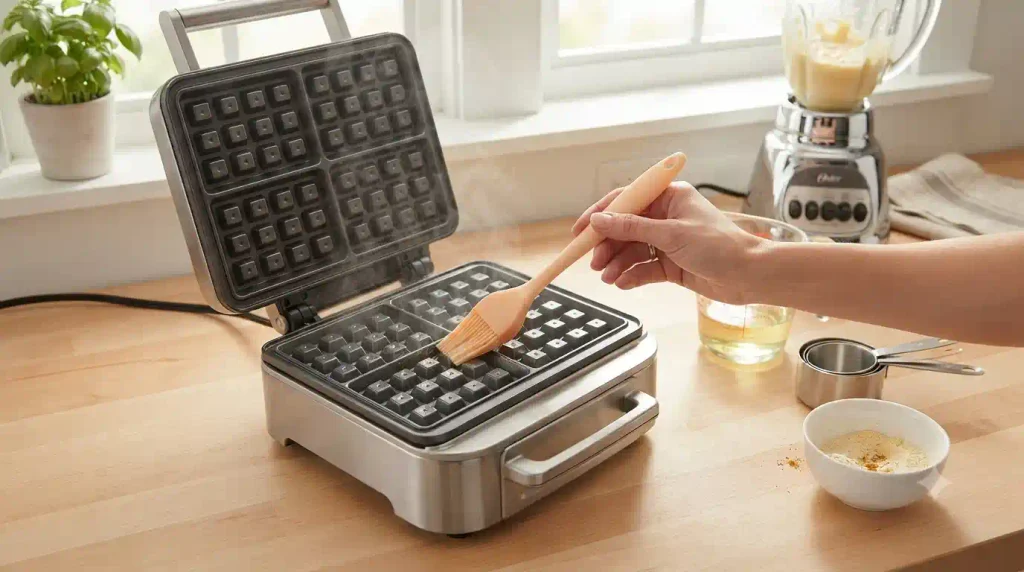
Turn on your waffle maker before making the batter so it has enough time to become properly hot.
A fully heated iron is one of the secrets to crisp waffles. Pouring batter onto a lukewarm surface encourages steaming rather than immediate browning.
Lightly grease the plates if recommended by the manufacturer. Some nonstick waffle makers need little or no additional oil.
Step 2: Add the Wet Ingredients to the Blender
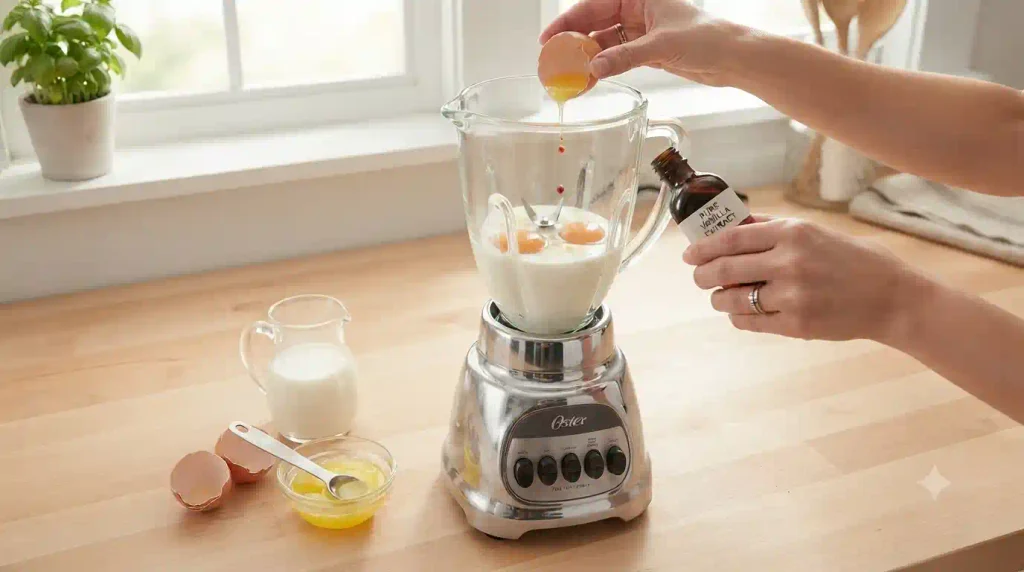
Pour 1¾ cups milk into the blender first.
Add:
- 2 eggs
- ½ cup melted and slightly cooled butter
- 2 teaspoons vanilla extract
Adding liquids first makes it easier for the blender blades to move freely.
Make sure the melted butter isn’t piping hot before adding it to the eggs. Very hot butter can partially cook raw egg on contact.
Step 3: Add the Dry Ingredients
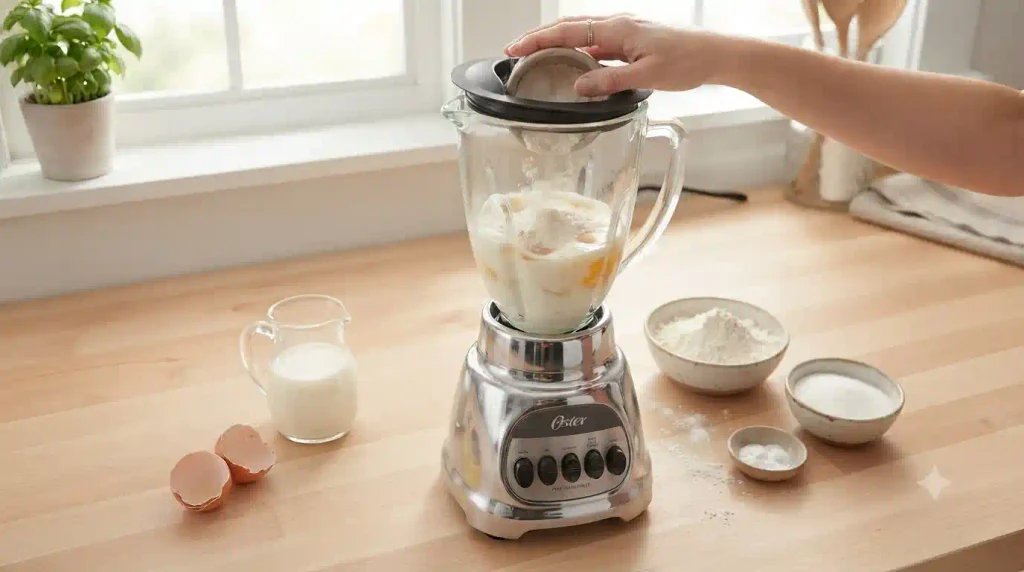
Add the following directly over the wet ingredients:
- 2 cups all-purpose flour
- 2 tablespoons sugar
- 1 tablespoon baking powder
- ½ teaspoon salt
Secure the blender lid firmly.
Pulse several times, then blend briefly on low just until the ingredients come together—usually 10–20 seconds.
Don’t chase every tiny lump. Overblending develops excess gluten and can make the waffles dense or rubbery.
Step 4: Pour the Batter Into the Hot Waffle Maker
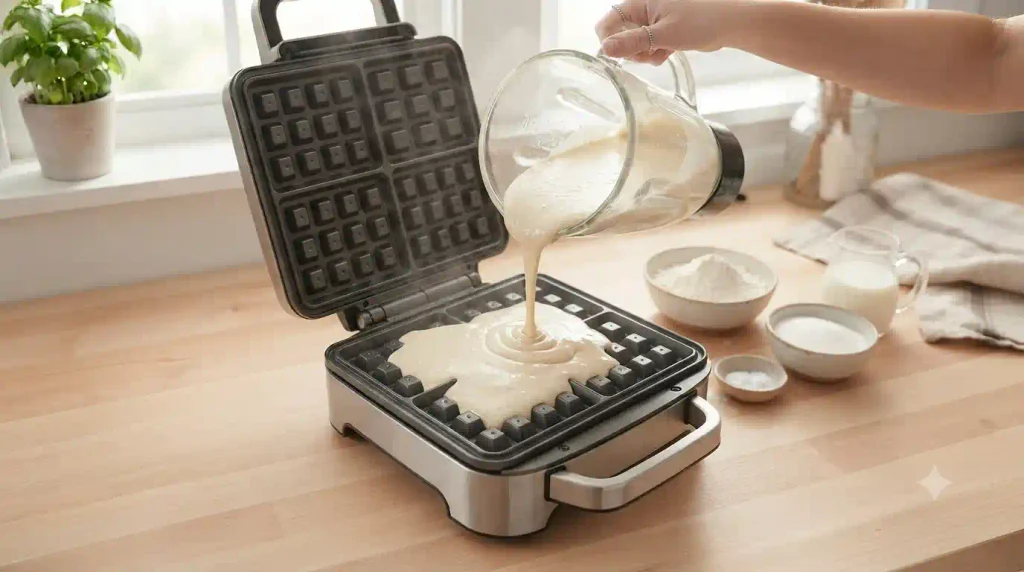
Carefully open the preheated waffle iron.
Pour enough batter into the center to cover roughly two-thirds to three-quarters of the cooking surface. The batter spreads when you close the lid, so resist the temptation to fill the iron completely.
Close the waffle maker gently.
The exact amount of batter varies considerably between machines, so your first waffle is a useful test.
If a little batter escapes the sides, don’t panic. It happens in real home kitchens. Simply use slightly less for the next batch.
Step 5: Cook Until Golden and Crisp
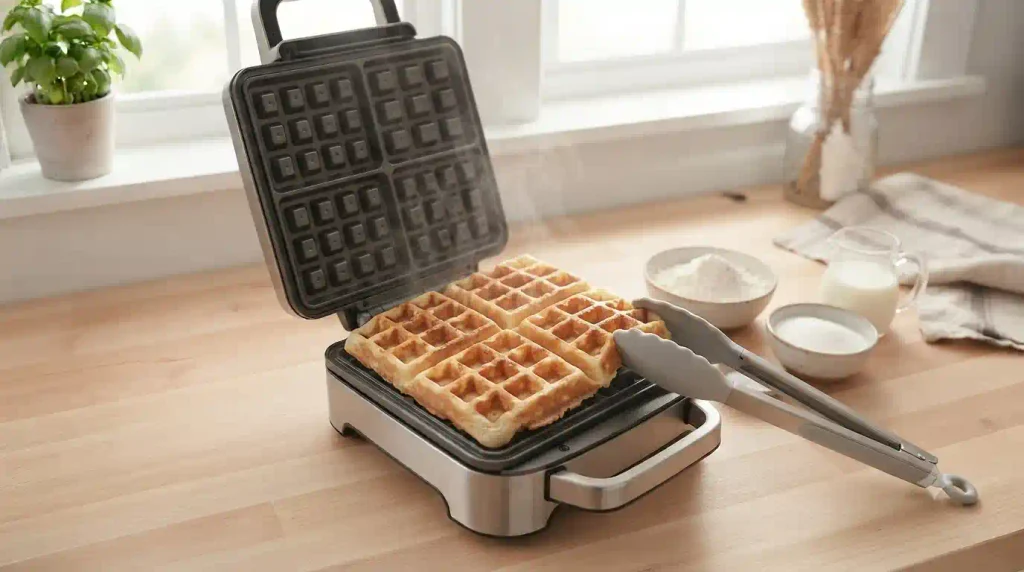
Cook according to your waffle maker’s instructions, generally about 3–5 minutes.
Avoid repeatedly lifting the lid to check. Opening too early can tear the waffle before its structure has set.
A useful old-school trick is to watch the steam. When heavy steam coming from the waffle maker slows considerably, the waffle is usually close to finished.
Carefully open the lid. The waffle should look deeply golden with crisp, defined edges.
Remove it with silicone-tipped tongs or a non-scratching utensil.
Step 6: Keep Crisp and Serve
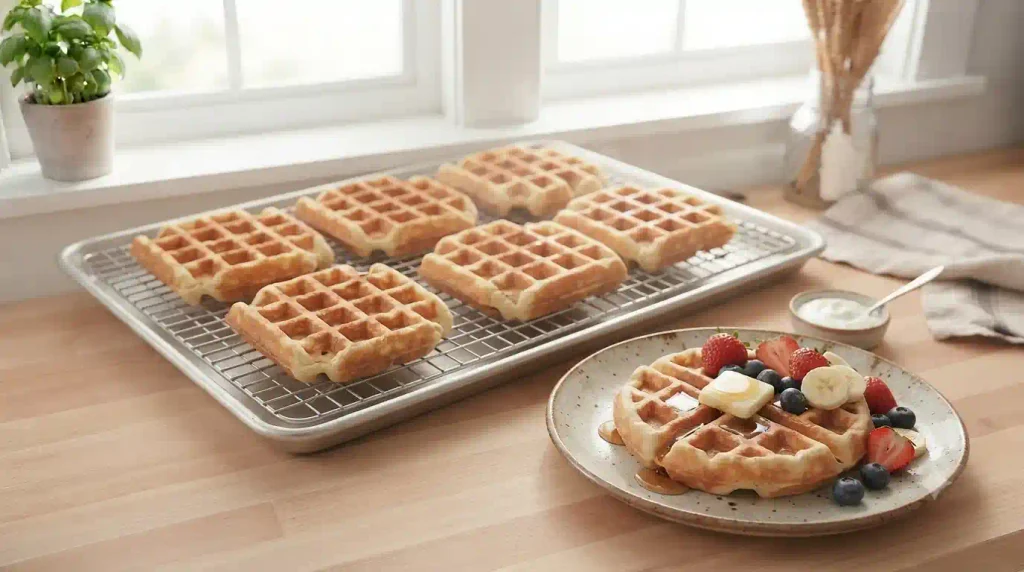
Transfer finished waffles to a wire cooling rack, rather than stacking them directly on a plate.
Why?
Stacked hot waffles trap steam. Within minutes, those beautifully crisp surfaces can become soft.
If you’re making several batches, keep finished waffles on a wire rack in a 200°F (95°C) oven until everyone is ready to eat.
Serve warm with maple syrup, berries, sliced banana, yogurt, nut butter, or your favorite toppings.
Health Benefits
Waffles are primarily a comfort-style breakfast, but homemade waffles have one major advantage: you control exactly what goes into them.
Eggs Provide Quality Protein
Eggs contribute complete protein along with nutrients such as vitamin B12, selenium, and choline. They also make the waffles more satisfying than a flour-and-water batter.
Milk Adds Calcium and Protein
Whole milk contributes calcium, protein, phosphorus, and several B vitamins while giving the waffles a richer texture.
Homemade Means More Control
Making waffles from scratch lets you control the amount of added sugar and salt. This recipe uses only 2 tablespoons of sugar for the entire batch, since toppings can provide additional sweetness.
Fresh Fruit Adds More Nutrition
Top your waffles with strawberries, blueberries, banana, peaches, or another favorite fruit for extra fiber, vitamins, minerals, and naturally sweet flavor.
Easy to Modify
For extra fiber, you can replace about ½ cup of the all-purpose flour with whole-wheat flour. I wouldn’t swap all of it on your first attempt because the waffles will become noticeably heavier.
Nutrition Information (Per Serving)
Approximate nutrition for 1 waffle, assuming the recipe makes 6 waffles and excluding toppings:
| Nutrient | Approximate Amount |
|---|---|
| Calories | 350 kcal |
| Protein | 9 g |
| Fat | 19 g |
| Carbohydrates | 38 g |
Nutrition note: These values are estimates. Actual nutrition will vary depending on your ingredient brands, waffle size, substitutions, and toppings.
Pro Tips & Variations
1. Don’t Overblend
This is probably the most important rule.
Blend only until the dry flour disappears. A perfectly silky batter isn’t necessary. Excess blending encourages gluten development, which can make waffles tougher.
2. Get the Waffle Iron Properly Hot
A hot cooking surface quickly sets the exterior and promotes browning.
If your first waffle looks pale and soft, let the machine preheat for another couple of minutes before cooking the next one.
3. Use a Cooling Rack
Don’t immediately stack waffles.
Place them individually on a wire rack. Air circulation prevents trapped steam from softening their crisp exterior.
4. Make Extra-Crispy Waffles
For an even crispier finish, replace ¼ cup of the milk with sparkling water.
You can also leave a cooked waffle in the iron for another 30–60 seconds, watching carefully to prevent burning.
5. Make Chocolate Chip Waffles
Don’t put chocolate chips into the blender.
Make the batter normally, pour it into your waffle maker, then sprinkle a small handful of chocolate chips over the batter before closing the lid.
6. Make Blueberry Waffles
Fresh blueberries work beautifully.
Pour in the plain batter first and scatter berries over the surface. This distributes them more evenly and prevents the blender from turning your batter purple.
7. Add Warm Spices
For cozy autumn-style waffles, add:
- 1 teaspoon ground cinnamon
- ¼ teaspoon ground nutmeg
Vanilla, cinnamon, butter, and maple syrup are a hard combination to beat.
8. Dairy-Free Variation
Replace the milk with an unsweetened dairy-free alternative such as oat or almond milk.
Replace butter with an equal quantity of melted neutral oil or a suitable plant-based butter.
The finished flavor and texture may vary slightly.
9. Less-Sweet Waffles
Reduce the sugar to 1 tablespoon if you’re planning to serve the waffles with sweet syrup, jam, or fruit.
10. Savory Waffles
Leave out the vanilla and reduce or omit the sugar.
Add a little black pepper, grated cheese, and chopped chives for a savory version that works brilliantly with eggs.
How Much Does It Cost to Make?
Homemade waffles are usually far cheaper than ordering breakfast out.
Here’s a rough estimate based on typical U.S. supermarket prices:
| Ingredient | Approximate Recipe Cost |
|---|---|
| Flour | $0.45 |
| Sugar | $0.05 |
| Baking powder & salt | $0.15 |
| Eggs | $0.60 |
| Milk | $0.55 |
| Butter | $1.10 |
| Vanilla | $0.35 |
| Estimated Total | $3.25 |
That works out to approximately $0.54 per waffle when making six.
Prices vary considerably by location, brand, season, and supermarket, so treat these numbers as a practical estimate rather than a fixed cost. Toppings are not included.
Frequently Asked Questions
Can you really make waffle batter in a blender?
Yes. A blender is an excellent shortcut for waffle batter as long as you don’t overblend it.
Put the liquid ingredients in first, add the dry ingredients, then pulse or blend briefly until combined. Usually 10–20 seconds is plenty.
The goal isn’t a perfectly smooth batter. Slight lumps are preferable to an overmixed batter.
Why aren’t my homemade waffles crispy?
The most common reason is a waffle iron that isn’t hot enough.
Make sure the machine is completely preheated before adding the first batch. Also avoid stacking freshly cooked waffles because trapped steam quickly softens their exterior.
Place them on a wire rack instead.
For a large batch, keep finished waffles on a rack in a 200°F (95°C) oven while you cook the rest.
Can I make waffle batter ahead of time?
You can refrigerate the batter in an airtight container for several hours, but waffles are generally fluffiest when the batter is cooked soon after mixing.
Baking powder begins reacting once it becomes wet, so overnight storage may reduce some of its lifting power.
For the best texture, I prefer making the batter fresh—it only takes about two minutes anyway.
Can you freeze homemade waffles?
Absolutely. These waffles are excellent for meal prep.
Let cooked waffles cool completely on a wire rack. Place parchment paper between them if necessary, transfer to a freezer-safe bag or container, and freeze.
For best quality, use them within about 2–3 months.
Reheat straight from frozen in a toaster or toaster oven until hot and crisp. Avoid relying on the microwave if crispness is your goal; it tends to make waffles soft.
Final Thoughts
A good homemade breakfast doesn’t need to leave the kitchen looking like you’ve catered for twenty people. This Easy Waffles Recipe – 2-Minute, Blender & Foolproof keeps things refreshingly simple: everyday ingredients, one blender, one waffle maker, and wonderfully crisp, fluffy results.
Remember the three details that make the biggest difference: preheat the waffle iron thoroughly, don’t overblend the batter, and don’t stack hot waffles.
Once you’ve mastered the basic version, make it your own. Add berries for summer mornings, cinnamon when the weather turns cold, chocolate chips for the kids, or keep things classic with warm maple syrup and butter. Sometimes the easiest recipes are the ones that earn a permanent spot in the breakfast rotation.