

There’s something deeply satisfying about hearing waffle batter sizzle the moment it hits a hot waffle iron. Whether it’s a slow Sunday breakfast or a sudden craving for something warm and comforting, homemade waffles turn a few everyday pantry staples into a breakfast that feels special. And thankfully, you don’t need a complicated recipe—or a sink full of dishes—to get there.
This easy waffle recipe is mixed in one bowl and gives you that irresistible contrast: crisp, golden edges with a soft, fluffy middle. The batter comes together quickly, and a few simple techniques make a noticeable difference. Don’t worry about small lumps in the batter; overmixing is far more likely to spoil a good waffle than a few floury bumps.
Prep & Cook Time
| Details | Time / Amount |
|---|---|
| Prep Time | 10 minutes |
| Cook Time | 15 minutes |
| Total Time | 25 minutes |
| Servings | 4 |
| Yield | About 6–8 waffles, depending on waffle iron size |
This recipe works especially well for relaxed weekend breakfasts, but it’s quick enough for a weekday morning when you have a little extra time.
What Equipment Do You Need?
You won’t need any specialist baking equipment beyond a waffle maker.
- Waffle iron or waffle maker
- Large mixing bowl
- Whisk
- Measuring cups and spoons
- Small microwave-safe bowl or saucepan for melting butter
- Rubber spatula or wooden spoon
- Ladle or measuring cup for transferring the batter
- Wire cooling rack, optional but recommended for maximum crispness
Kitchen safety tip: Waffle irons become extremely hot, including around their edges. Always open yours using its handle and keep the hot appliance away from the edge of the counter, especially when children are nearby.
Ingredients
For approximately 6–8 waffles, you’ll need:
- 2 cups (250 g) all-purpose flour
- 2 tablespoons granulated sugar
- 1 tablespoon baking powder
- ½ teaspoon fine salt
- 2 large eggs
- 1¾ cups (420 ml) whole milk
- ½ cup (113 g) unsalted butter, melted and slightly cooled
- 2 teaspoons pure vanilla extract
- Cooking spray or a little neutral oil, if needed for the waffle iron
Optional toppings
- Fresh strawberries, blueberries, or raspberries
- Sliced banana
- Pure maple syrup
- Greek yogurt
- Nut or seed butter
- Chopped toasted nuts
- A light dusting of powdered sugar
Why Each Ingredient Matters
A basic waffle has very few ingredients, which means every ingredient has a job to do.
| Ingredient | Why It Matters |
|---|---|
| All-purpose flour | Provides structure while keeping the waffles tender enough inside. |
| Sugar | Adds gentle sweetness and encourages browning and caramelisation on the exterior. |
| Baking powder | Produces carbon dioxide bubbles that help the waffles rise and become fluffy. |
| Salt | Balances sweetness and makes the vanilla and butter flavours more noticeable. |
| Eggs | Add structure, richness, moisture, and help bind the batter together. |
| Whole milk | Hydrates the flour and contributes protein and fat for a tender interior. |
| Butter | Adds rich flavour while fat helps create a tender centre and crisp exterior. |
| Vanilla | Gives simple waffles their familiar warm, bakery-style aroma. |
One of the biggest waffle mistakes happens after these ingredients meet: overmixing.
Once flour becomes wet, gluten begins developing. Vigorous mixing can create too much gluten, giving you waffles that are chewy or tough instead of light and tender.
A few lumps are completely normal.
Step-by-Step Instructions
Step 1: Preheat the Waffle Iron
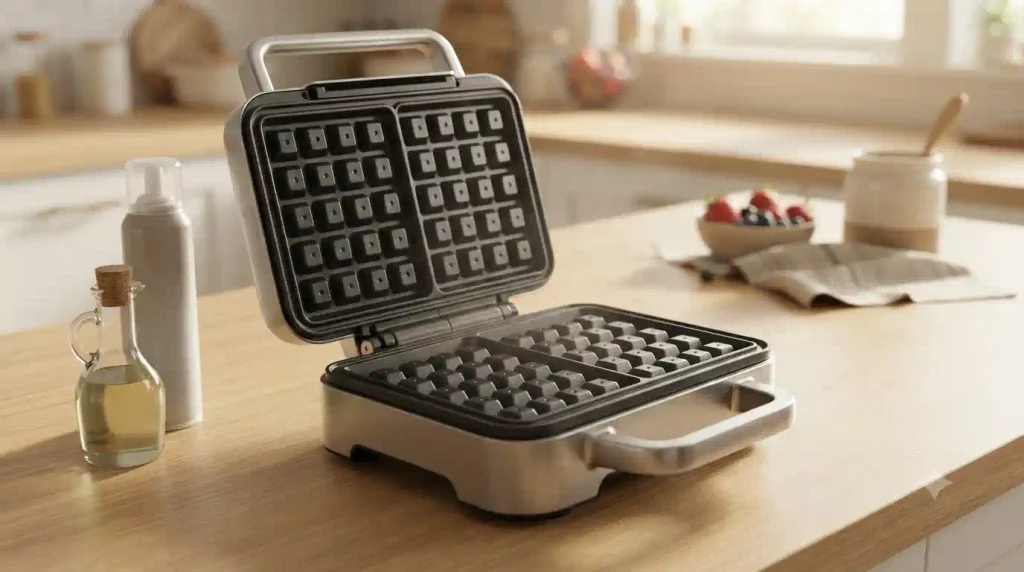
Preheat your waffle maker according to the manufacturer’s instructions. A properly heated waffle iron is one of the secrets to getting a crisp exterior.
If you pour batter onto an iron that isn’t hot enough, the batter slowly cooks rather than immediately beginning to brown. The result can be pale, softer waffles.
Lightly grease the plates with cooking spray or neutral oil only if your waffle maker requires it.
Step 2: Mix the Dry Ingredients
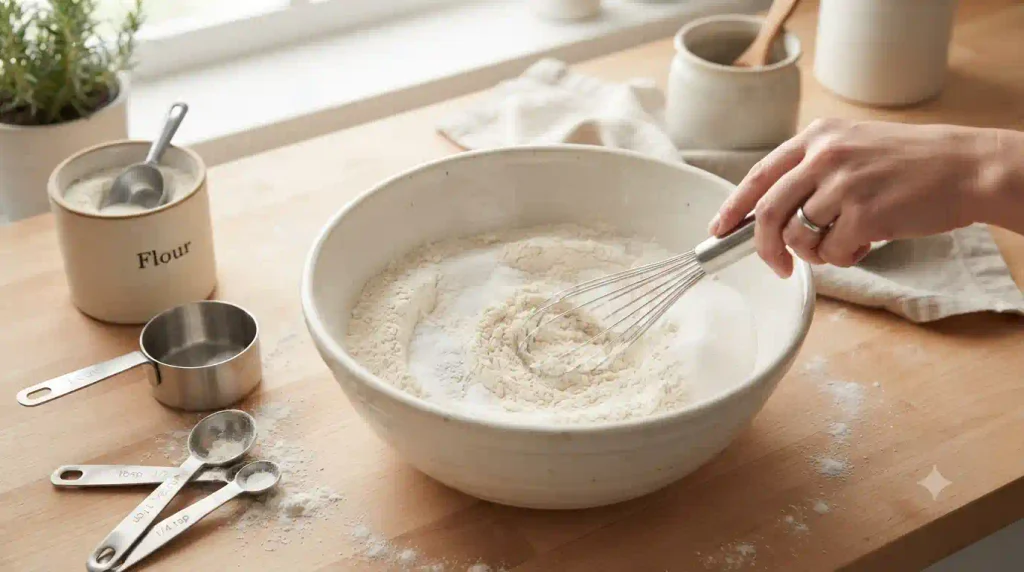
In a large mixing bowl, add:
- 2 cups flour
- 2 tablespoons sugar
- 1 tablespoon baking powder
- ½ teaspoon salt
Whisk everything together for about 20 seconds.
Pay particular attention to the baking powder. You want it evenly distributed through the flour so you don’t end up with one beautifully risen waffle followed by a disappointingly flat one.
Step 3: Add the Wet Ingredients
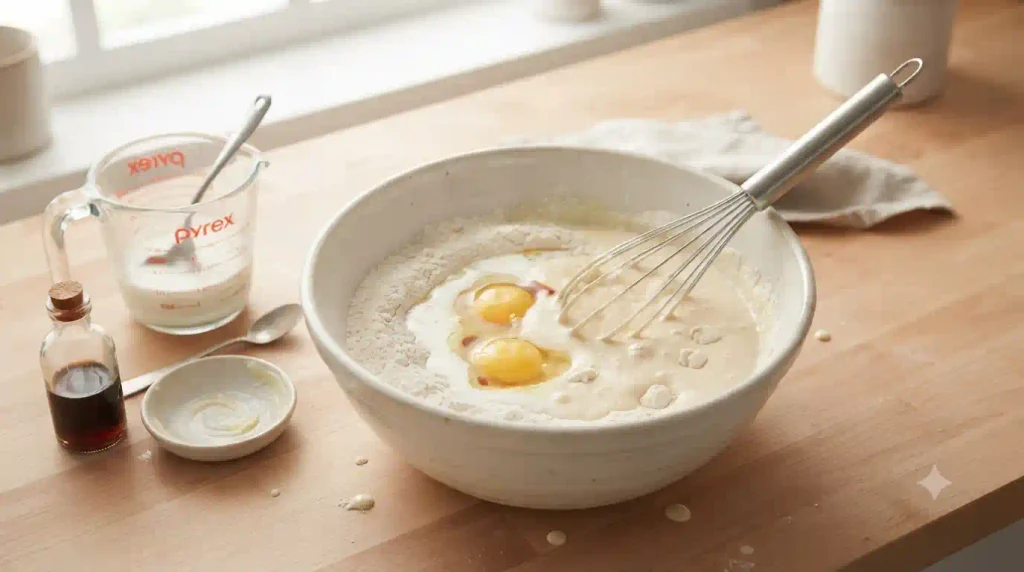
Make a shallow well in the centre of the dry ingredients.
Add the eggs, milk, melted butter, and vanilla extract directly to the same bowl.
Make sure your melted butter has cooled slightly before adding it. Very hot butter can begin cooking portions of the raw egg before the batter reaches the waffle maker.
Whisk gently until the ingredients are just combined.
The batter should be thick but pourable.
And if you can still see a few small lumps? Leave them alone. That slightly imperfect-looking batter often makes better waffles than batter that has been whisked perfectly smooth.
Step 4: Rest the Batter Briefly
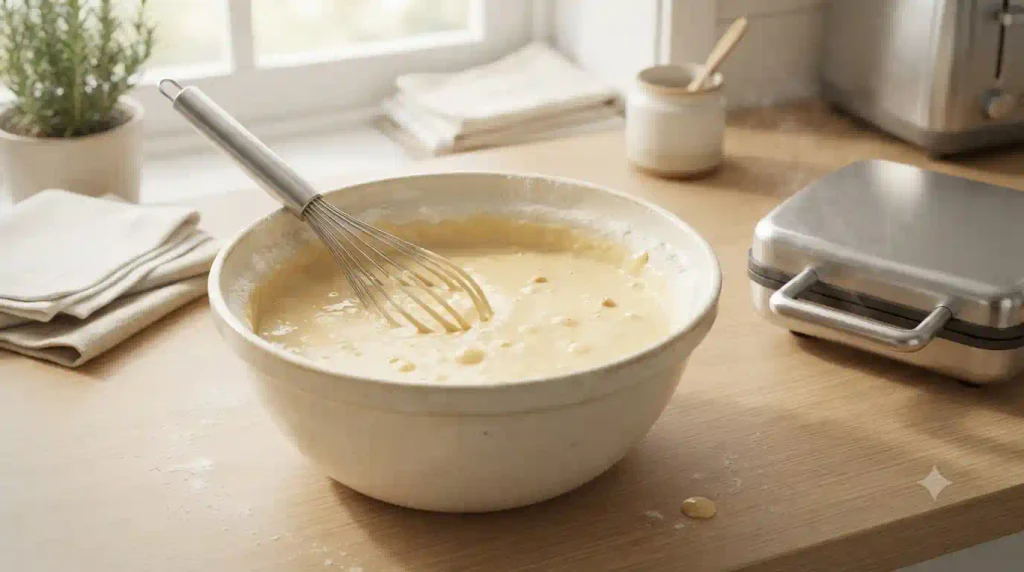
Allow the batter to sit for about 5 minutes while the waffle iron finishes heating.
This short rest gives the flour time to absorb moisture and lets the batter settle after mixing.
Avoid leaving baking-powder waffle batter sitting around for a long time, though. For the best rise, start cooking shortly after mixing.
Step 5: Cook Until Golden and Crisp
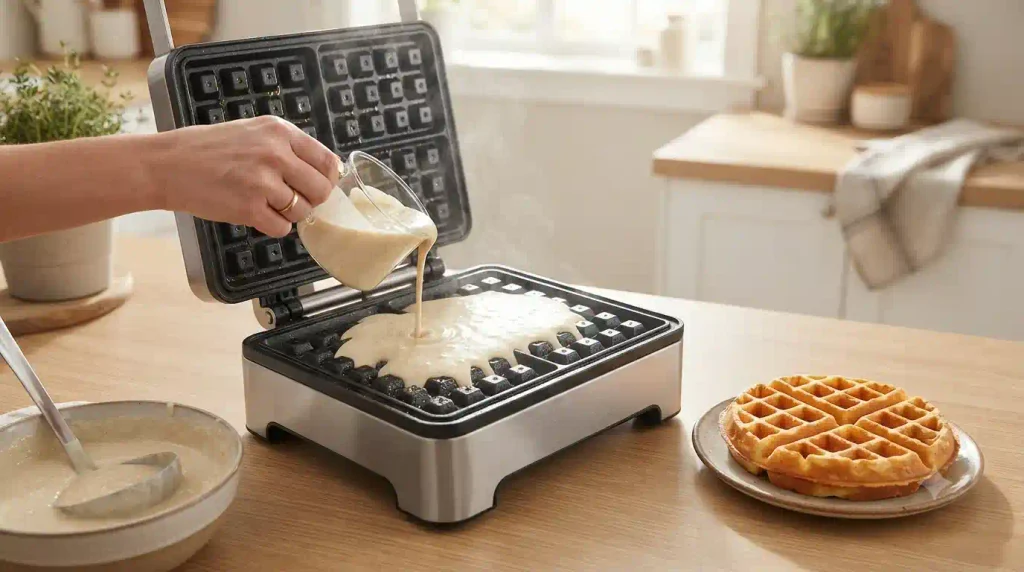
Carefully open the hot waffle iron.
Pour enough batter into the centre to cover roughly two-thirds to three-quarters of the cooking surface. The exact quantity varies considerably between waffle makers, so follow your machine’s instructions when available.
Close the lid without pressing it down forcefully.
Cook until the waffle is deep golden brown and crisp, usually about 3–5 minutes.
Another useful clue is steam. You’ll usually see plenty of steam escaping early in cooking. When that steam reduces significantly, the waffle is often close to ready.
Avoid repeatedly opening the waffle maker to check. Opening it too soon can tear a waffle before its structure has set.
Step 6: Serve Immediately or Keep Crisp
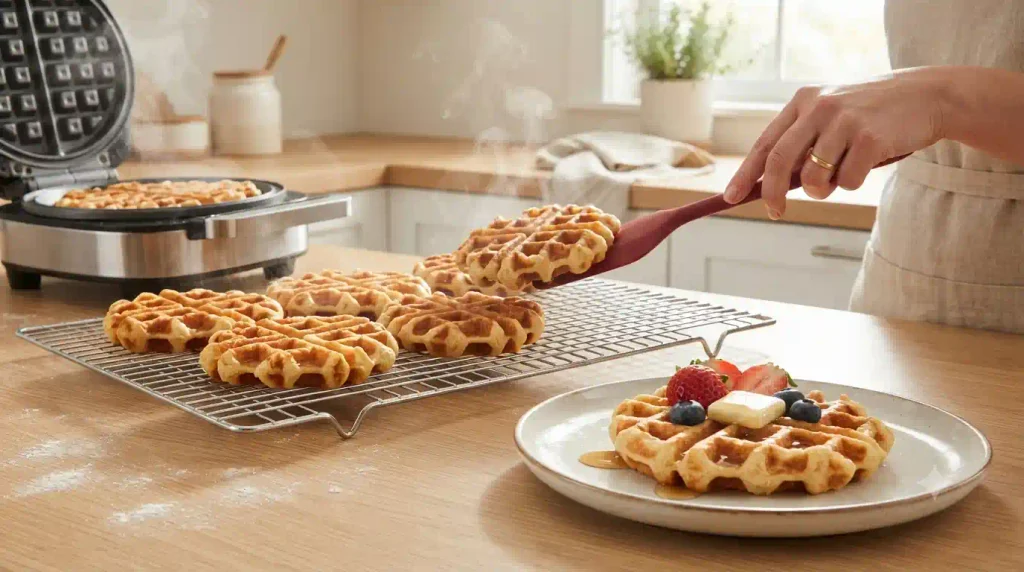
Carefully remove the cooked waffle with a heat-resistant silicone or wooden utensil.
For the crispiest texture, place finished waffles in a single layer on a wire rack rather than stacking them on a plate.
Why?
Fresh waffles release steam. Stack them together and that trapped steam quickly softens those beautifully crisp surfaces.
If you need to cook several batches, keep finished waffles warm on a wire rack in a 200°F (95°C) oven while you finish the remaining batter.
Serve warm with maple syrup, berries, yogurt, sliced banana, nut butter, or whatever sounds good that morning.
Health Benefits
Waffles are best viewed as a satisfying breakfast food rather than a nutritional powerhouse, but homemade waffles do have some advantages—especially because you control what goes into them.
Eggs provide high-quality protein. They also contain several useful micronutrients, including choline.
Milk contributes protein and calcium. Using dairy milk also provides nutrients such as phosphorus and vitamin B12.
Homemade means control. You decide how much sugar goes into the batter and what goes on top. That makes it easy to build a more balanced breakfast.
For example, serve a waffle with Greek yogurt and berries rather than relying solely on butter and syrup. You’ll add protein, fruit, fibre, and micronutrients while still getting the comforting waffle breakfast you wanted.
For extra fibre, you can also replace ¼ to ½ cup of the all-purpose flour with whole-wheat flour. Expect a slightly heartier texture.
Nutrition Information (Per Serving)
The following is an estimated nutritional breakdown for one-quarter of the recipe, before toppings.
| Nutrient | Approximate Amount |
|---|---|
| Calories | 520 kcal |
| Protein | 13 g |
| Fat | 28 g |
| Carbohydrates | 56 g |
Actual nutrition will vary depending on your flour and milk brands, waffle size, how much batter remains in the bowl, and any toppings you add.
For example, maple syrup, butter, chocolate spread, nuts, fruit, and yogurt can substantially change the final calorie and macronutrient totals.
Pro Tips & Variations
Get the waffle iron properly hot
That initial blast of heat matters. It helps set and brown the outside quickly while the interior remains soft.
Don’t overmix
This deserves repeating because it makes such a difference.
Mix only until you can no longer see large patches of dry flour. Small lumps are fine. Chasing a perfectly smooth batter can leave you with tougher waffles.
Don’t stack freshly cooked waffles
If crisp waffles are the goal, a wire rack is your friend. Air can circulate around each waffle rather than steam becoming trapped underneath.
Want even crispier waffles?
Replace ¼ cup of the all-purpose flour with cornstarch. Cornstarch can help produce a lighter, crisper exterior.
Cinnamon waffles
Add 1 teaspoon ground cinnamon to the dry ingredients. A tiny pinch of nutmeg is lovely here too.
Blueberry waffles
Sprinkle fresh blueberries over the batter after pouring it into the waffle iron rather than aggressively stirring them into the bowl.
Chocolate chip waffles
Add a small handful of mini chocolate chips to each waffle before closing the iron.
Don’t overdo them—melted chocolate can make cleanup considerably less enjoyable.
Dairy-free option
Replace the milk with an unsweetened dairy-free alternative and use melted plant-based butter or neutral oil instead of dairy butter.
The flavour and browning may change slightly depending on the products used.
Whole-wheat variation
Replace up to half of the all-purpose flour with whole-wheat flour.
If the batter becomes noticeably thick, add another tablespoon or two of milk.
Sweeter dessert waffles
Increase the sugar by 1–2 tablespoons and serve with fresh berries and lightly whipped cream.
How Much Does It Cost to Make?
Homemade waffles are usually very budget-friendly because most of the ingredients are pantry and refrigerator staples.
Based on typical US supermarket pricing, a rough estimate looks like this:
| Ingredient | Estimated Cost Used |
|---|---|
| Flour | $0.45 |
| Sugar | $0.05 |
| Baking powder + salt | $0.15 |
| Eggs | $0.60 |
| Milk | $0.55 |
| Butter | $1.10 |
| Vanilla | $0.35 |
| Estimated Total | $3.25 |
That works out to roughly $0.80 per serving, before toppings.
Prices vary by location, brand, package size, and current grocery prices, so treat this as a practical estimate rather than a fixed cost. Premium maple syrup, fresh berries, or specialty toppings will naturally raise the total.
Frequently Asked Questions
Why aren’t my homemade waffles crispy?
The waffle iron may not have been hot enough, the waffles may have been removed too early, or steam may have softened them after cooking.
Make sure the iron is fully preheated and cook the waffles until they’re properly golden rather than merely cooked through.
Then transfer them to a wire rack instead of stacking them.
Can I make waffle batter ahead of time?
For the best texture, this baking-powder batter is better made shortly before cooking. The leavening begins working once the wet and dry ingredients meet, so freshly mixed batter generally gives better lift.
If mornings are hectic, measure your dry ingredients the night before. Then you only need to add the wet ingredients and mix in the morning.
Can I freeze homemade waffles?
Absolutely.
Let the waffles cool completely on a wire rack first. Freeze them in a single layer, then transfer the frozen waffles to a freezer-safe bag or airtight container.
For the best quality, use them within about 2–3 months.
Reheat straight from frozen in a toaster or toaster oven until hot and crisp. Make sure leftovers are heated thoroughly before serving.
What’s the difference between pancake and waffle batter?
They share many of the same ingredients, but waffle recipes often contain more fat and sometimes more sugar.
That extra fat supports a richer texture, while sugar encourages browning and helps create the crisp, caramelised surface we expect from a good waffle.
Using pancake batter in a waffle maker may technically work, but it usually won’t produce quite the same crispy-outside, fluffy-inside result.
Final Thoughts
A great homemade waffle doesn’t need a complicated ingredient list or multiple mixing bowls. The biggest improvements come from technique: preheat the waffle iron properly, mix gently, cook until deeply golden, and don’t stack hot waffles.
Once you’ve mastered the basic batter, make it your own. Add cinnamon for cosy autumn mornings, blueberries in summer, or simply keep things classic with butter and maple syrup.
And remember, your batter doesn’t need to look picture-perfect. A few lumps, a flour-dusted counter, and the occasional drip of batter down the side of the waffle maker are all part of a real home breakfast. What matters is that those waffles arrive at the table hot, crisp, fluffy—and ready to disappear.