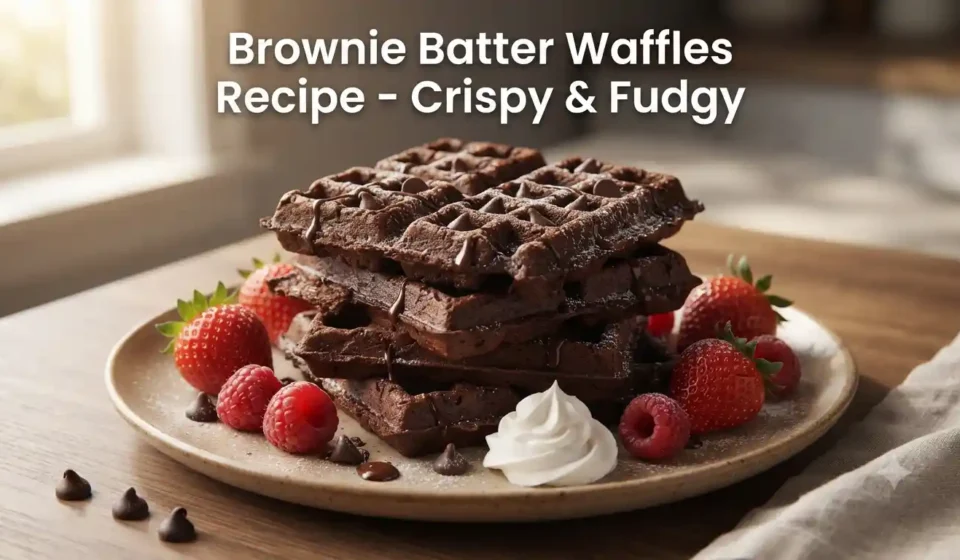

If you love the rich, chocolatey comfort of brownies but also crave the crisp edges of a freshly made waffle, this recipe brings both together in one very satisfying breakfast. There is something wonderfully cozy about mixing a bowl of chocolate batter while the waffle iron heats up, especially when everyone starts wandering into the kitchen asking, “Are they ready yet?”
These brownie batter waffles have crisp, slightly caramelized edges and a soft, fudgy center that makes them feel like dessert for breakfast. They are easy enough for a lazy weekend morning but special enough for brunch with friends. Add berries, powdered sugar, whipped cream, or a drizzle of chocolate sauce, and you have a treat that looks impressive without creating a mountain of dishes.
Prep & Cook Time
| Details | Time |
|---|---|
| Prep Time | 10 minutes |
| Cook Time | 15 minutes |
| Total Time | 25 minutes |
| Servings | 6 waffles |
What Equipment Do You Need?
- Waffle maker
- Large mixing bowl
- Medium mixing bowl
- Whisk
- Rubber spatula
- Measuring cups and spoons
- Small microwave-safe bowl or saucepan for melting butter
- Cooling rack, optional
- Ladle or measuring cup for portioning batter
Ingredients
- 1 ½ cups (188 g) all-purpose flour
- ½ cup (43 g) unsweetened cocoa powder
- ½ cup (100 g) granulated sugar
- 2 teaspoons baking powder
- ½ teaspoon salt
- 2 large eggs, room temperature
- 1 ¼ cups (300 ml) whole milk
- ½ cup (113 g) unsalted butter, melted and slightly cooled
- 2 teaspoons vanilla extract
- ½ cup (85 g) semi-sweet chocolate chips
- ¼ cup (60 ml) hot water or strong brewed coffee
For serving:
- Powdered sugar
- Fresh strawberries or raspberries
- Whipped cream
- Chocolate sauce or maple syrup
Why Each Ingredient Matters
- All-purpose flour: Provides the structure that helps the waffles hold their shape while remaining tender.
- Cocoa powder: Gives the waffles their deep chocolate flavor without adding extra sweetness.
- Sugar: Sweetens the batter and helps create those deliciously crisp, lightly caramelized edges.
- Baking powder: Gives the waffles enough lift so the centers aren’t heavy or gummy.
- Salt: A small amount makes the chocolate taste richer and keeps the sweetness balanced.
- Eggs: Bind the ingredients together while adding richness and structure.
- Whole milk: Creates a smooth, pourable batter and contributes tenderness.
- Melted butter: Adds rich flavor and helps the outside brown beautifully.
- Vanilla: Rounds out the cocoa flavor with a subtle sweetness.
- Chocolate chips: Add little pockets of melted chocolate throughout the waffles.
- Hot water or coffee: Helps bloom the cocoa powder, making the chocolate flavor noticeably deeper. Coffee won’t make the waffles taste like coffee.
Step-by-Step Instructions
Step 1: Preheat the Waffle Maker
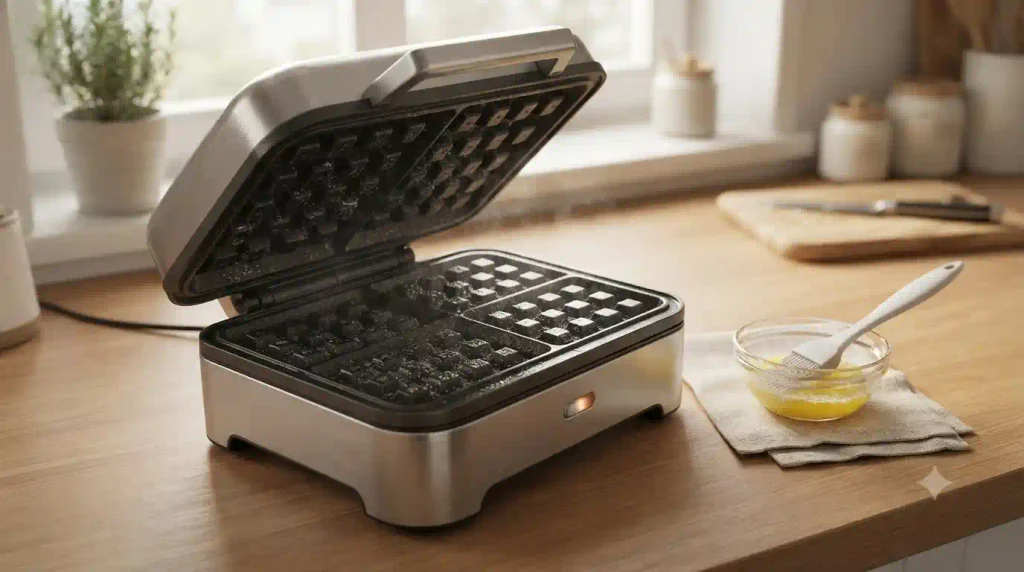
Preheat your waffle maker according to the manufacturer’s instructions. If your waffle iron tends to stick, lightly grease it with cooking spray or a thin coating of melted butter.
Make sure it is fully heated before adding the batter. A properly hot waffle iron is one of the easiest ways to get crisp edges instead of pale, soft waffles.
Step 2: Mix the Dry Ingredients
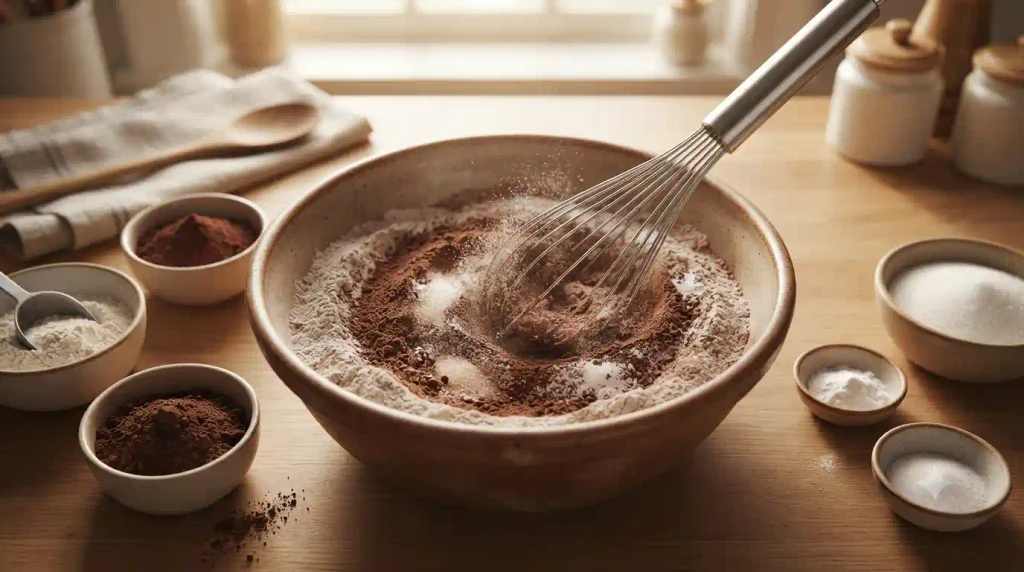
In a large bowl, whisk together the flour, cocoa powder, sugar, baking powder, and salt.
Break up any cocoa lumps as you whisk. You don’t need to sift everything if you’re short on time, but large pockets of cocoa can leave bitter little surprises in the finished waffles.
Step 3: Prepare the Wet Mixture
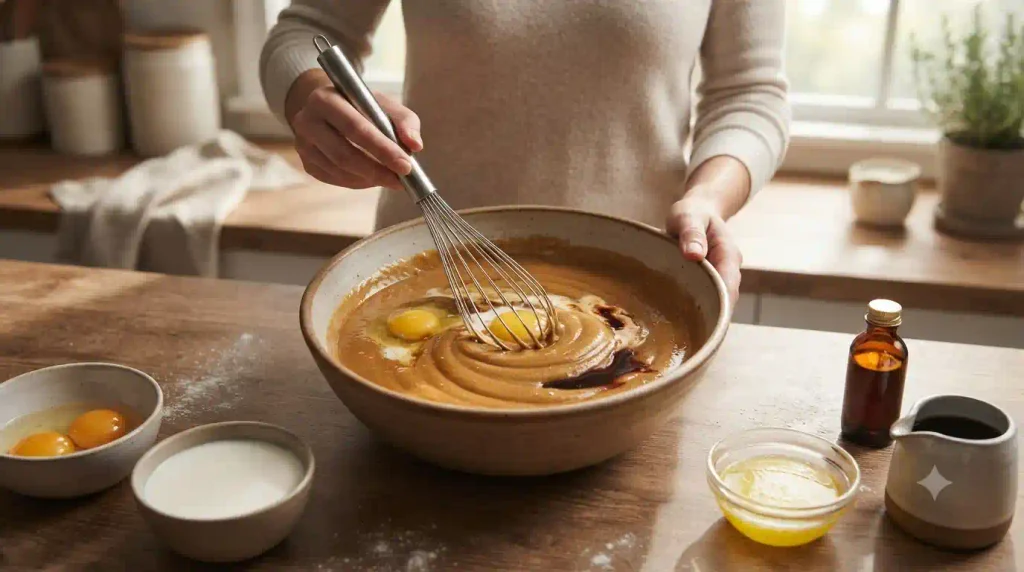
In a separate bowl, whisk the eggs, milk, melted butter, vanilla, and hot water or coffee until combined.
The melted butter should be warm rather than piping hot. If it’s too hot, give it a few minutes to cool before adding it to the eggs.
Food safety note: Because this batter contains raw eggs and flour, don’t taste it before cooking.
Step 4: Combine the Batter
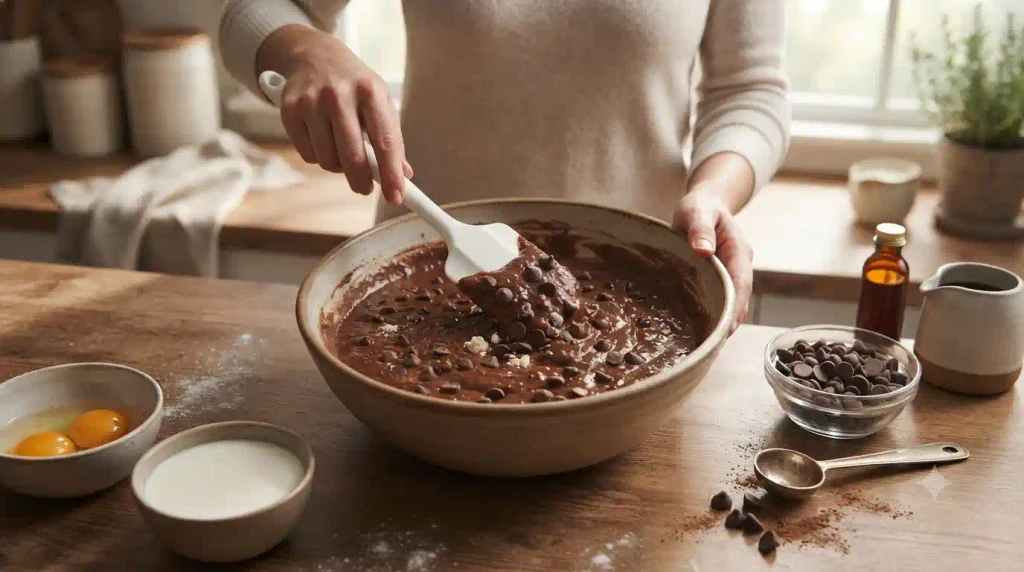
Pour the wet ingredients into the dry ingredients. Stir gently with a spatula or whisk just until everything is combined.
Fold in the chocolate chips.
Don’t worry if the batter looks slightly lumpy. Overmixing is the enemy of tender waffles. A few small lumps are perfectly fine.
The finished batter should be thick but still easy to scoop. If it seems unusually stiff, stir in 1–2 tablespoons of milk.
Step 5: Cook Until Crisp
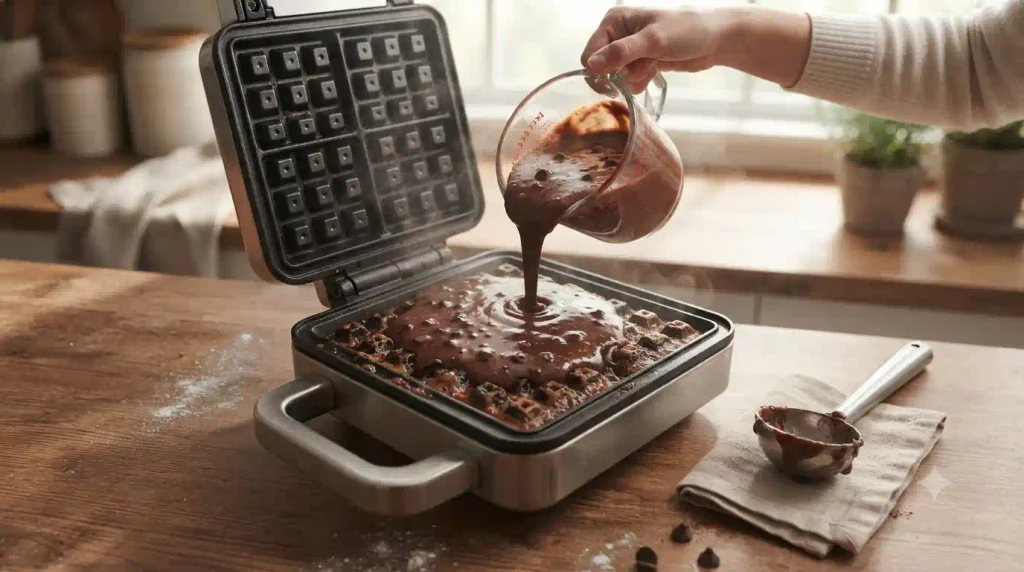
Lightly grease the hot waffle maker if needed. Add enough batter to cover the center of the plates without overflowing; the exact amount depends on the size of your waffle iron.
Close the lid and cook according to your waffle maker’s instructions, usually around 3–5 minutes.
Look for waffles that are set in the center with crisp-looking edges. Avoid opening the lid repeatedly because it can cause the waffle to split or cook unevenly.
Step 6: Serve Warm
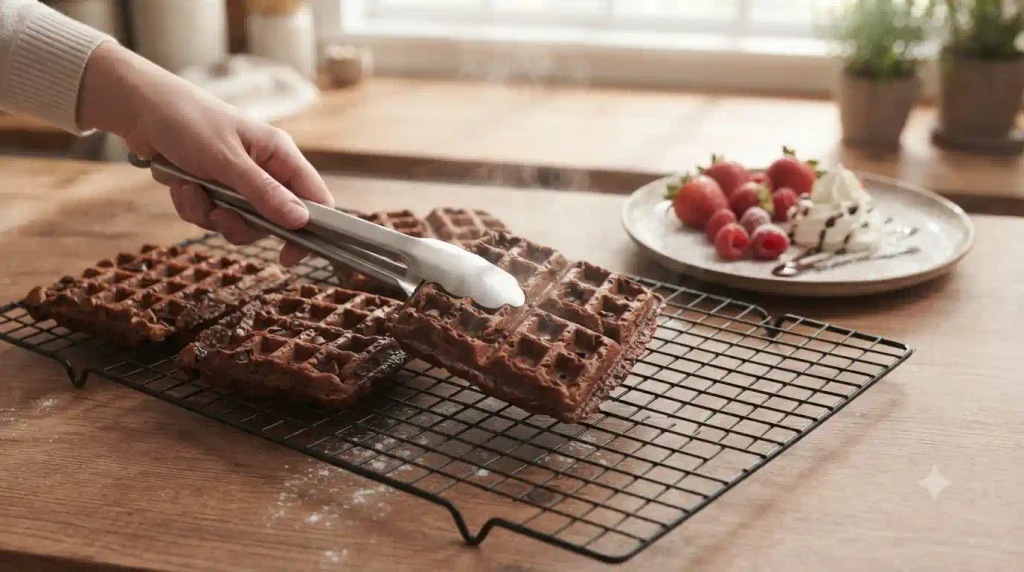
Carefully remove each waffle and place it on a wire rack for a minute or two. This helps steam escape and keeps the exterior crisp.
Serve immediately with your favorite toppings.
Try powdered sugar and berries for a simple finish, or go all-in with whipped cream and chocolate sauce when you’re in the mood for something extra indulgent.
For the crispiest results, avoid stacking hot waffles directly on top of one another.
Health Benefits
These are definitely an indulgent breakfast, but several ingredients provide useful nutrients:
- Eggs provide high-quality protein and nutrients such as choline and vitamin B12.
- Milk contributes protein and calcium.
- Cocoa powder contains naturally occurring plant compounds and minerals such as magnesium.
- Fresh berries add vitamin C, fiber, and antioxidant compounds when used as a topping.
- Dark or semi-sweet chocolate can contribute cocoa polyphenols, depending on the chocolate used.
For a more balanced breakfast, serve one waffle with Greek yogurt and fresh berries rather than relying only on syrup or chocolate sauce.
Nutrition Information (Per Serving)
Estimated for 1 waffle, without optional toppings. Actual nutrition varies by waffle maker size, brands, and portion size.
| Nutrient | Approximate Amount |
|---|---|
| Calories | 365 kcal |
| Protein | 8 g |
| Fat | 19 g |
| Carbohydrates | 43 g |
Pro Tips & Variations
For Extra-Crispy Waffles
Let your waffle maker preheat completely. Don’t rush this part. A hot iron helps the outside set quickly and creates that satisfying crisp texture.
For More Fudgy Centers
Slightly reduce the cooking time and remove the waffles as soon as the exterior is crisp and the center is cooked through. Don’t undercook them to the point that the middle remains raw.
Use Coffee for Deeper Chocolate Flavor
Strong brewed coffee or espresso can make chocolate taste more intense without turning the waffles into coffee-flavored waffles.
Add Nuts
Fold in ⅓ cup chopped pecans or walnuts with the chocolate chips for a brownie-inspired crunch.
Make Them More Chocolatey
Use dark chocolate chips or add another ¼ cup chocolate chips if you want melted chocolate in nearly every bite.
Make Them Less Sweet
Reduce the granulated sugar from ½ cup to ⅓ cup, particularly if you’re planning to add chocolate sauce, whipped cream, or maple syrup.
Dairy-Free Option
Use your favorite unsweetened dairy-free milk and replace the butter with a neutral-flavored plant-based butter or melted coconut oil.
Gluten-Free Option
Use a good-quality 1:1 gluten-free all-purpose flour blend designed for baking. Check that your cocoa powder and chocolate chips are also labeled gluten-free if cross-contact is a concern.
How Much Does It Cost to Make?
The exact price depends on where you shop and the brands you choose, but this recipe is relatively affordable for a chocolate-heavy breakfast.
| Ingredient Group | Estimated Cost |
|---|---|
| Flour, cocoa & sugar | $1.00 |
| Eggs & milk | $1.25 |
| Butter & vanilla | $1.25 |
| Chocolate chips | $1.25 |
| Baking powder, salt & coffee/water | $0.25 |
| Estimated Total | $5.00 |
That works out to roughly $0.83 per waffle when making six waffles, before optional toppings.
Buying cocoa powder, chocolate chips, and vanilla in larger packages can bring the cost down over time.
Frequently Asked Questions
Can I make brownie batter waffles without a waffle maker?
A waffle maker is essential for the classic shape and crisp texture, so you can’t get the same result in a regular skillet. If you don’t have one, the batter can be adapted into chocolate pancakes, but the texture will be different.
Why are my chocolate waffles not crispy?
The most common causes are an underheated waffle iron, too much batter, or stacking the waffles while they’re hot. Make sure the iron is fully preheated and place finished waffles on a wire rack instead of stacking them.
Can I make the waffle batter ahead of time?
For the best texture, cook the batter shortly after mixing. If necessary, you can refrigerate the covered batter for a short period, but the baking powder may become less effective and the waffles may not rise quite as well.
How do I store leftover brownie waffles?
Let the waffles cool completely, then refrigerate them in an airtight container for up to 3 days. For longer storage, freeze them in a freezer-safe bag with parchment between the waffles for up to 2 months.
Reheat frozen waffles directly in a toaster or toaster oven until hot and crisp. Avoid microwaving if you want to preserve the crunchy exterior.
Final Thoughts
These brownie batter waffles are proof that breakfast can be both comforting and a little playful. The combination of crispy edges, a fudgy chocolate center, and melted chocolate chips makes them hard to resist, especially when served warm with fresh berries and a dusting of powdered sugar.
Don’t worry about making every waffle picture-perfect. The first one is often the “test waffle,” and in a real home kitchen, someone usually eats it before the rest are even finished. Just keep the iron hot, avoid overmixing, and enjoy the process. A warm stack of homemade chocolate waffles is always worth the little bit of mess.